Configure the Google authentication provider
The first thing to do is to configure the OAuth2 Provider and obtain Client ID and Client Secret keys.
Configure the Google IDP
-
Obtain OAuth 2.0 credentials from the Google API Console.
Visit the Google API Console to obtain OAuth 2.0 credentials such as a client ID and client secret that are known to both Google and your application. The set of values varies based on what type of application you are building. For example, a JavaScript application does not require a secret, but a web server application does.
-
Login with a valid Google Account
-
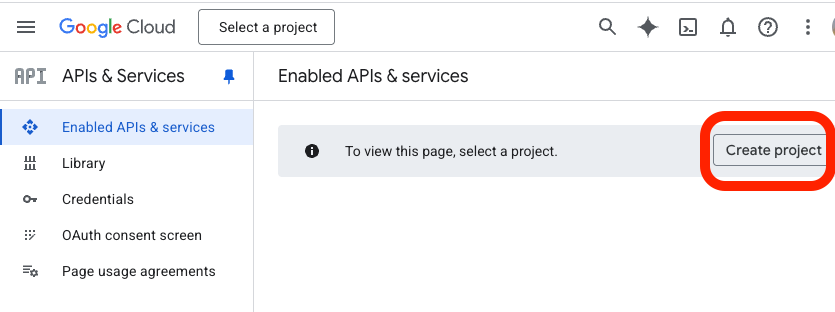
Click on
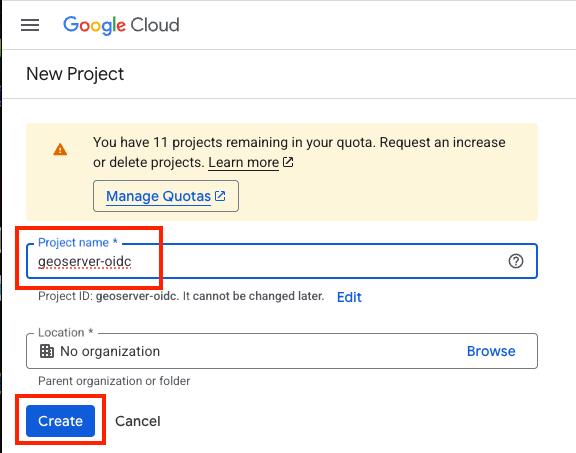
Create project
- give the project a name like
geoserver-oidcand press "Create"
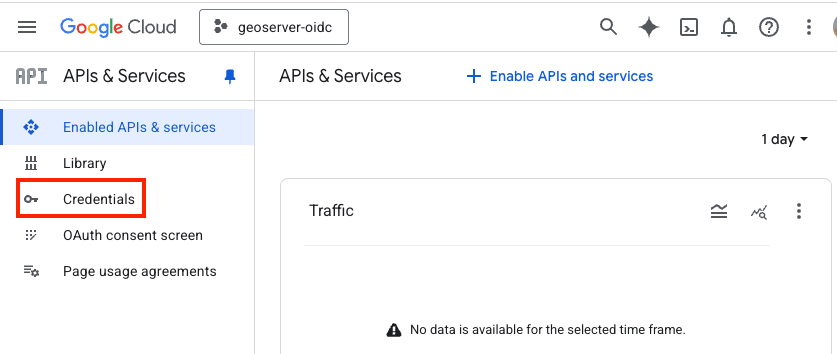
- Click on
Credentials(left column)
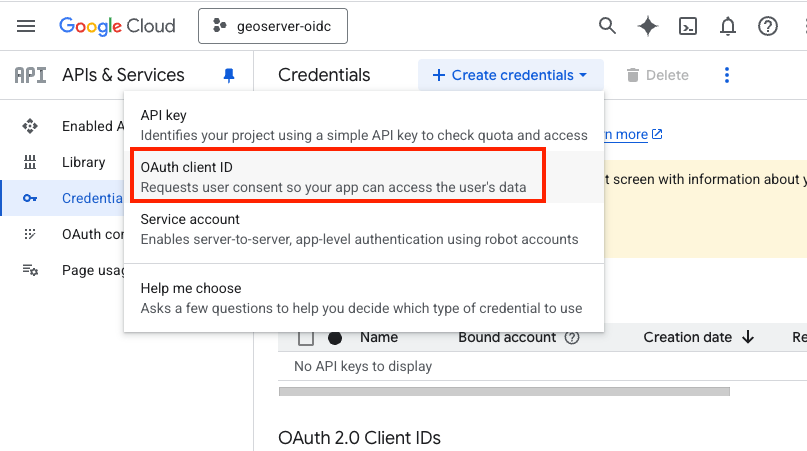
- Click on "+ Create credentials" (top bar)
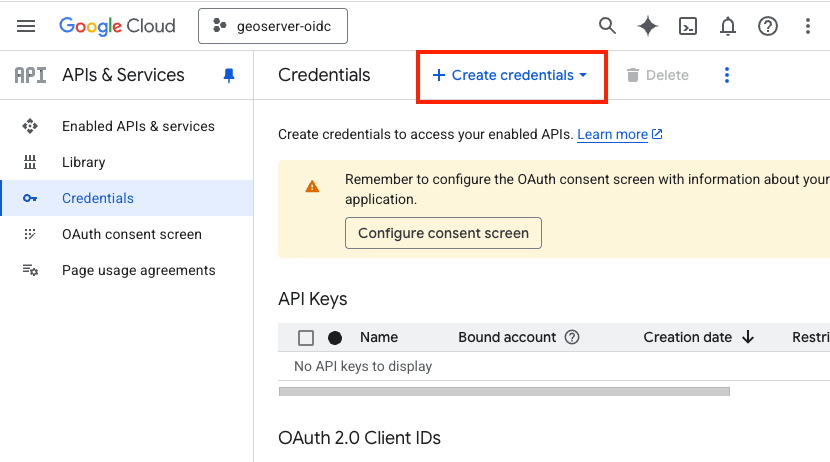
- Choose "OAuth client ID"
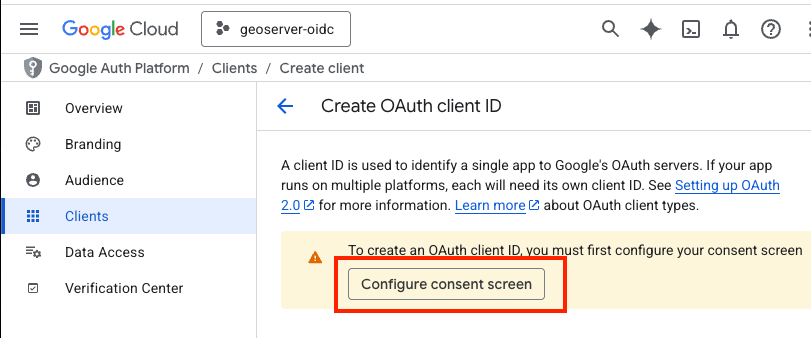
- Click on "Configure consent Screen"
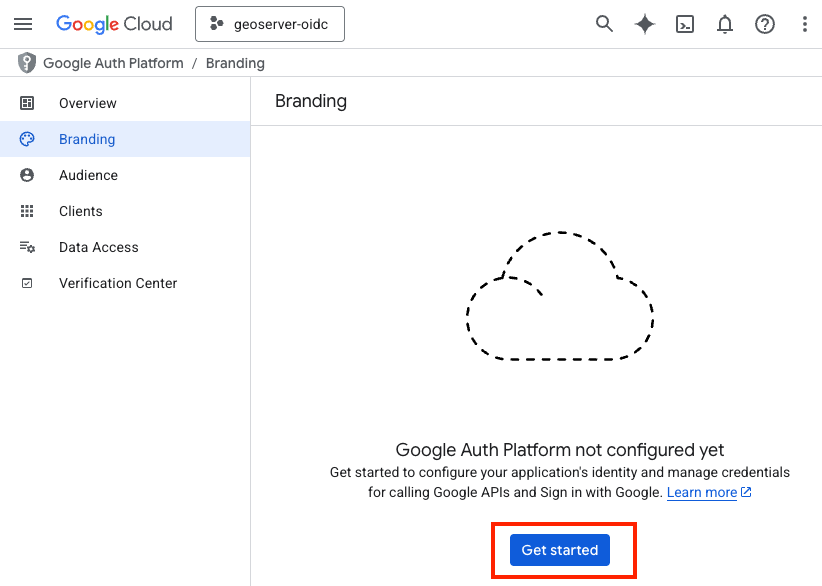
- Press "Get Started"
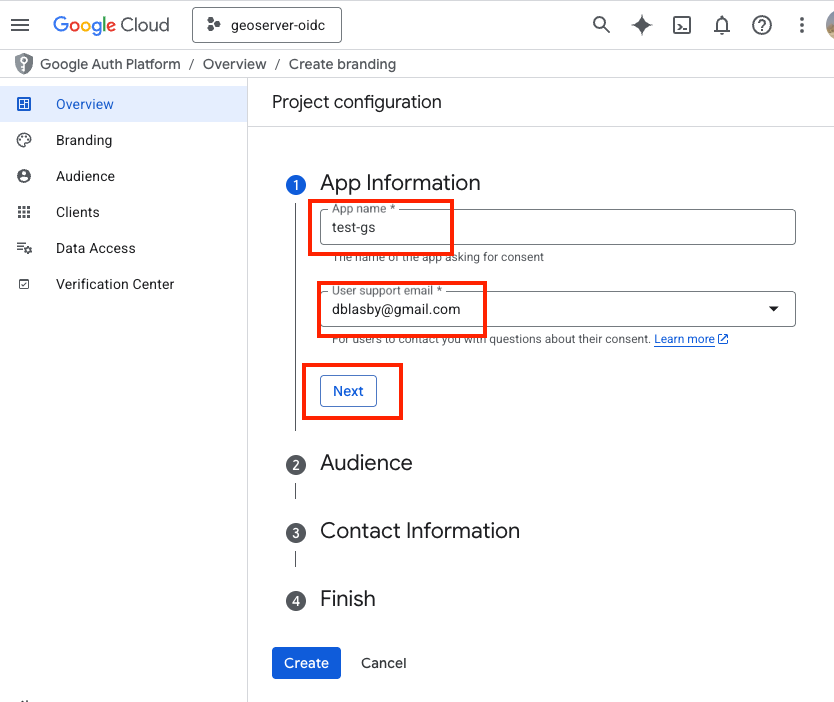
- Type in an "App name" (like "test-gs"), choose your Email address, and then press "Next"
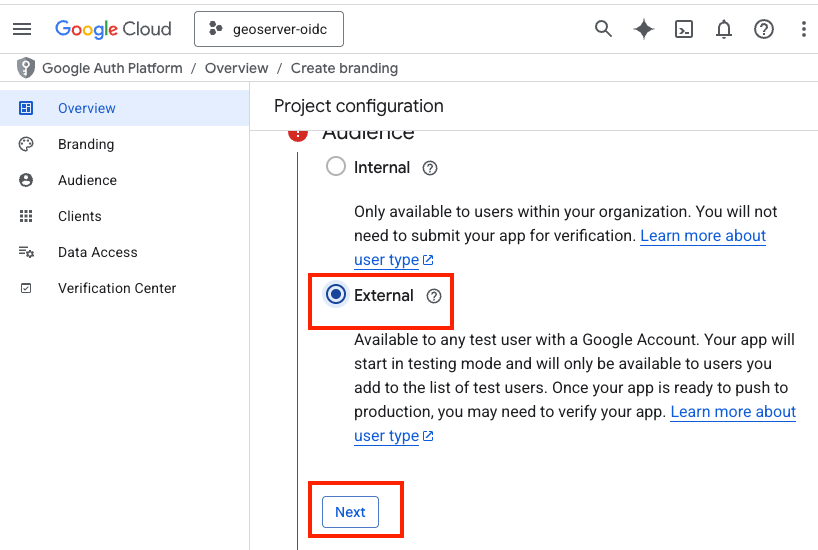
- In the Audience section, choose "External" then press "Next"
- Type in a contact email, then press "Next"
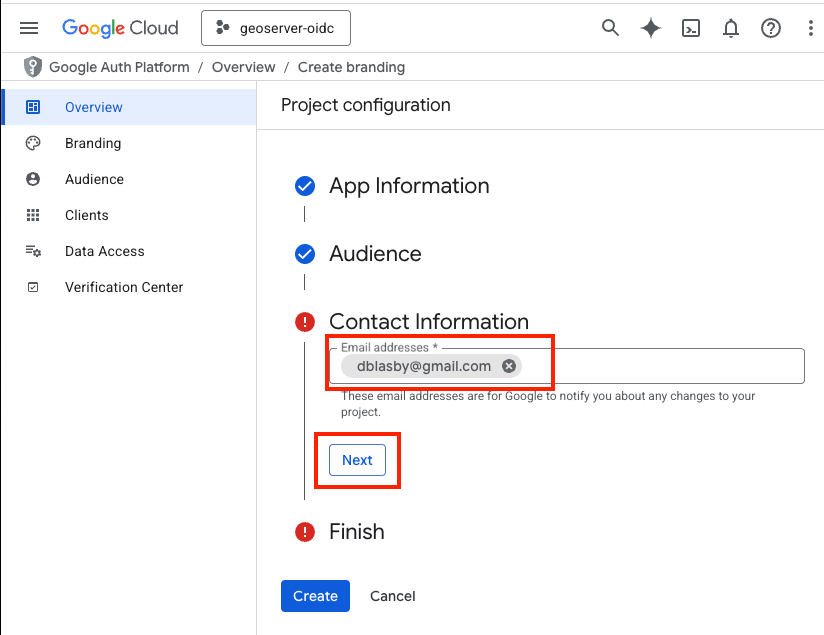
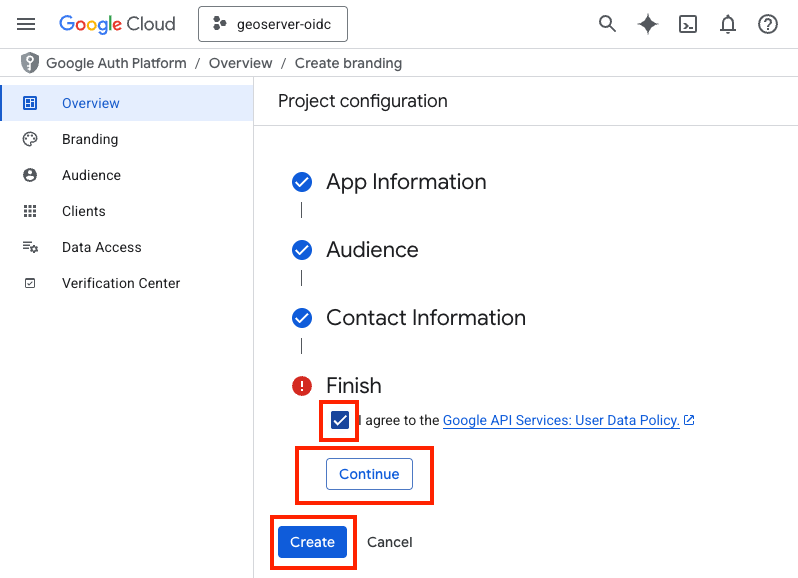
- Agree to the terms, then press "Continue", and then "Create"
- Go to Clients (Left Bar), press the 3-vertical-dots ,and then press "+ Create Client"
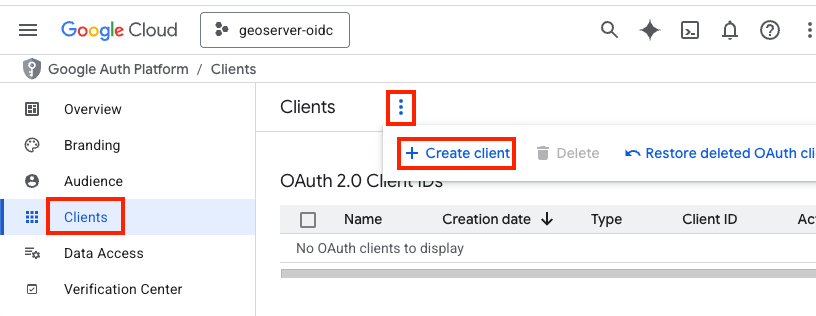
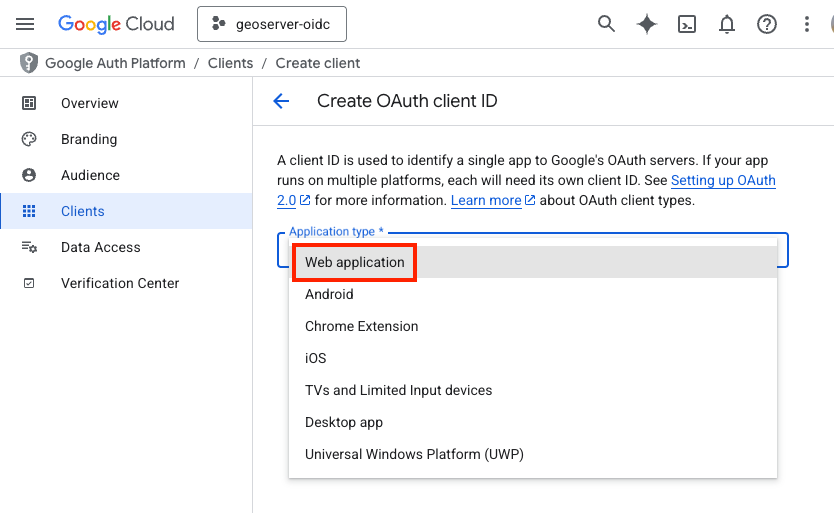
- Choose "Web Application" and name the web application (i.e. "gs test app")
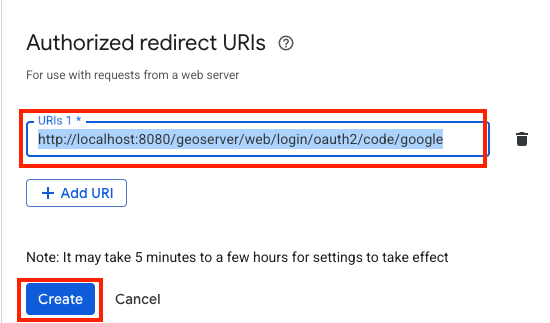
- Go down to "Authorized redirect URIs" and press "+ Add URI", type in the redirect URI shown in the GeoServer filter configuration form --- it has the form "http://localhost:8080/geoserver/web/login/oauth2/code/
__google" where <filterName>is the name of the GeoServer OIDC filter (e.g.gs-test-app__google). Press "Create".
Tip
The exact redirect URI that GeoServer will use is shown as the read-only Redirect URI field in the filter configuration form --- copy it verbatim. In production, use that value instead of
localhost. The filter-name prefix lets several OIDC filters share an IDP without colliding on their redirect URIs. See Redirect Base URI.-
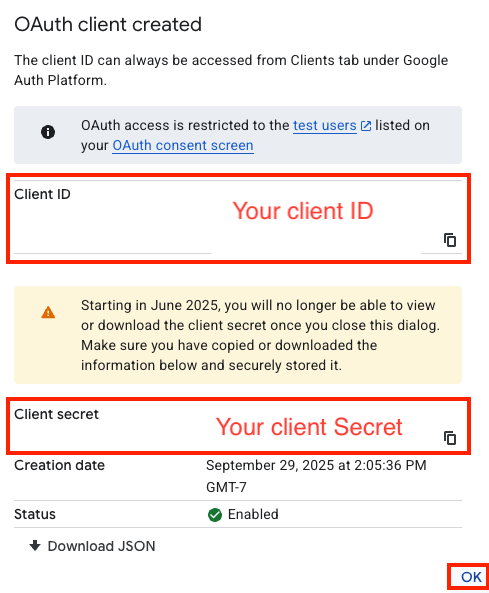
Record your Client ID and Client Secret, then press "Ok"
-
You will not be able to retrieve your client secret once you press "ok"
- Go to "Audience" (left bar), go down to "Test Users", press "+Add users", and add your google email as the test user.
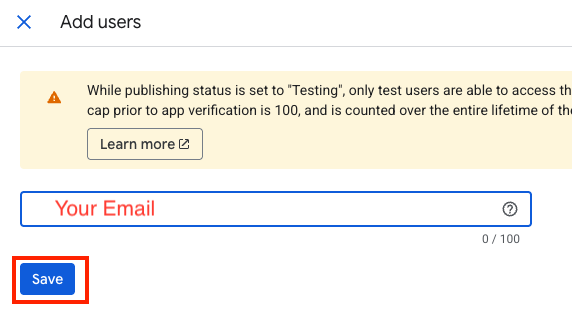
- Press Save
-
Configure GeoServer
The next step is to configure your Google application as the OIDC IDP for GeoServer.
Create the OIDC Filter
-
Login to GeoServer as an Admin
-
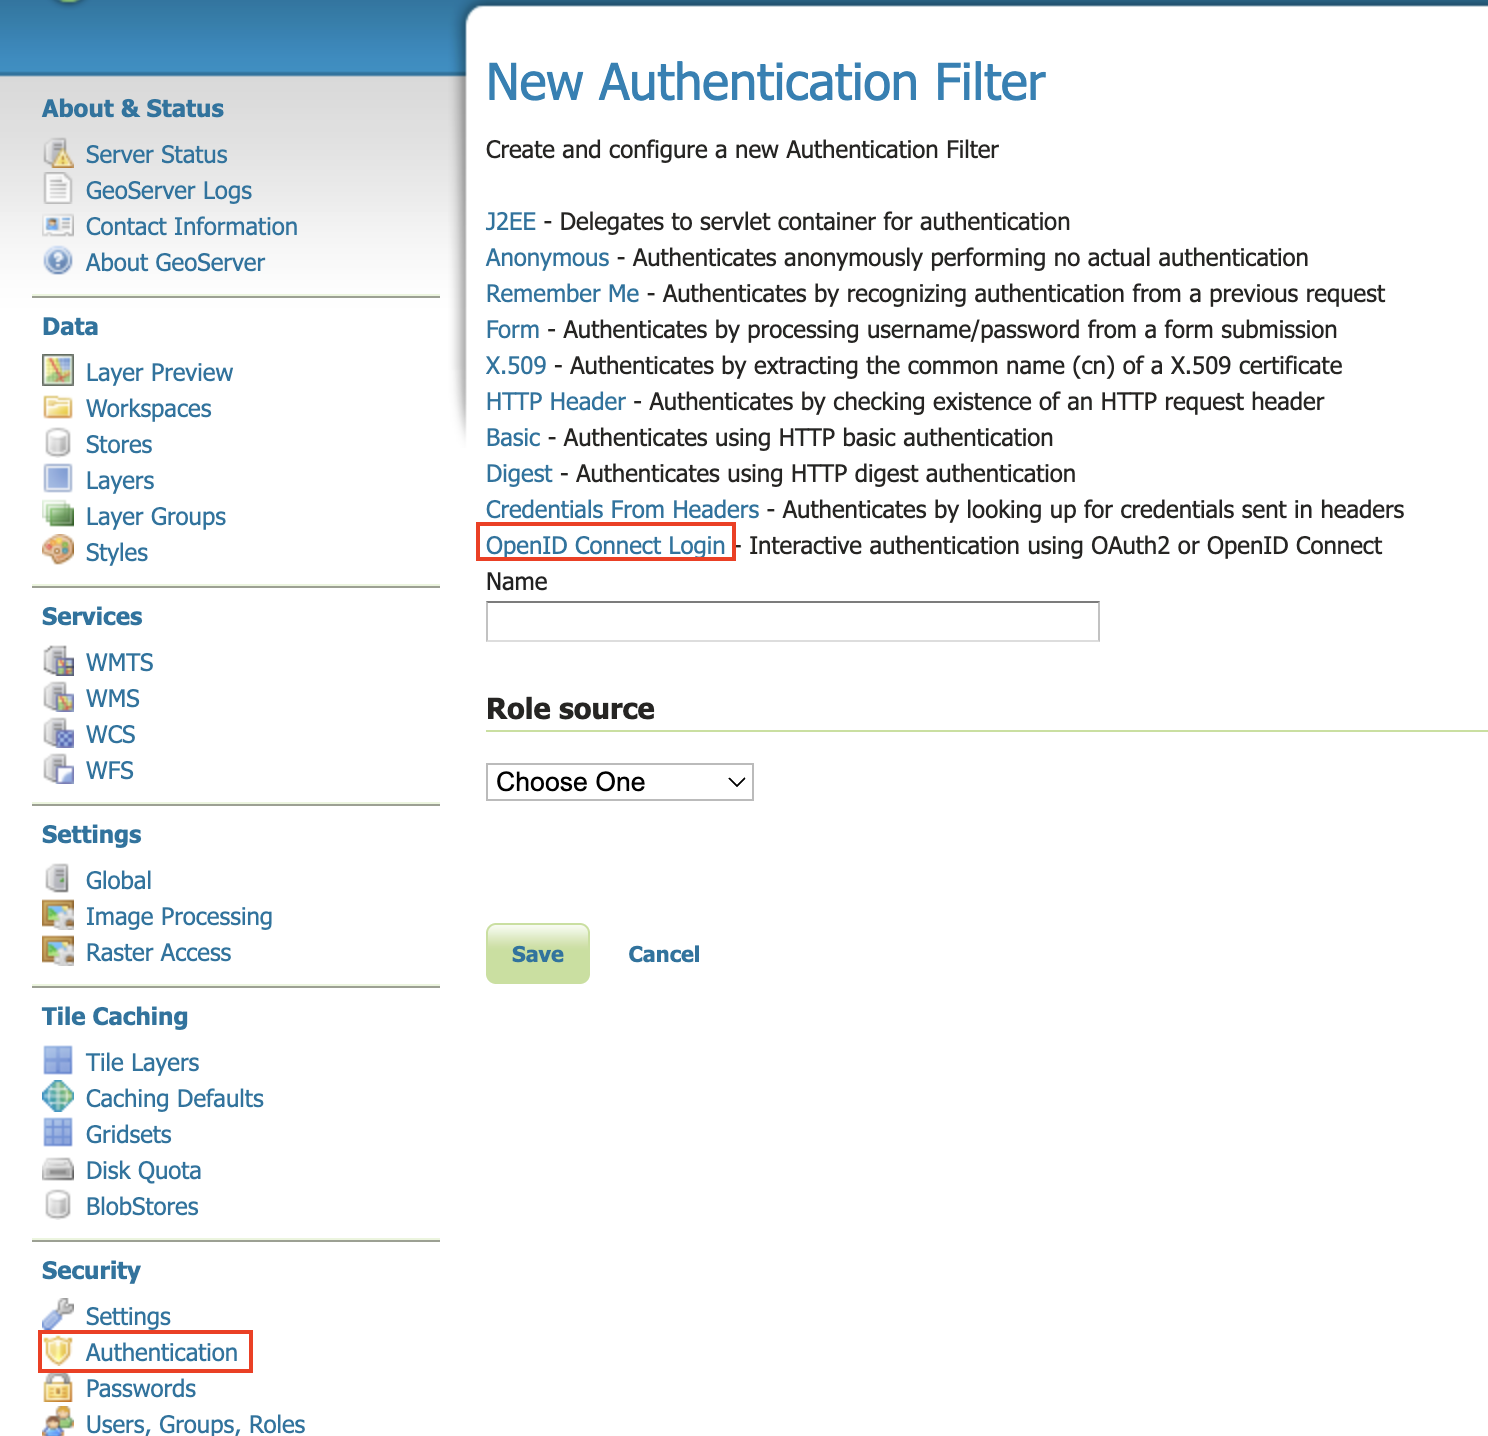
On the left bar under "Security", click "Authentication", and then "OpenID Connect Login"
-
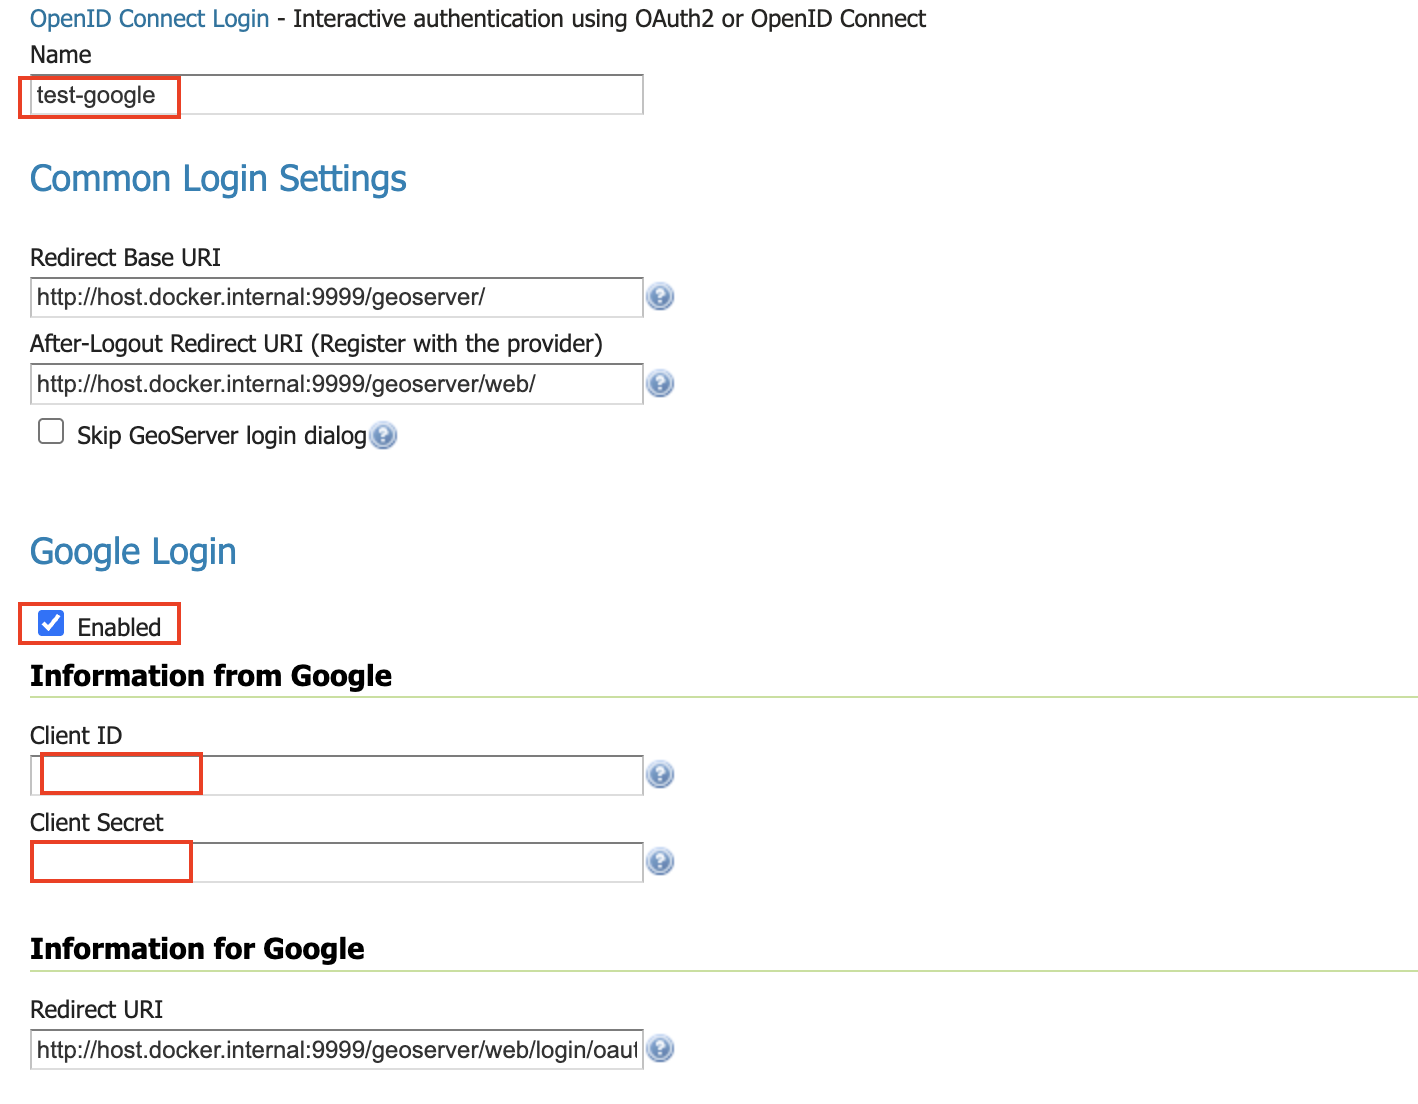
Give the it a name like "test-google", then from the Provider dropdown select Google and copy-and-paste in the Client ID and Client Secret (from when you configured the google client).
-
Go down to the bottom and configure the role source (if you want) - see role source
-
Press "Save"
Allow Web Access (Filter Chain)
-
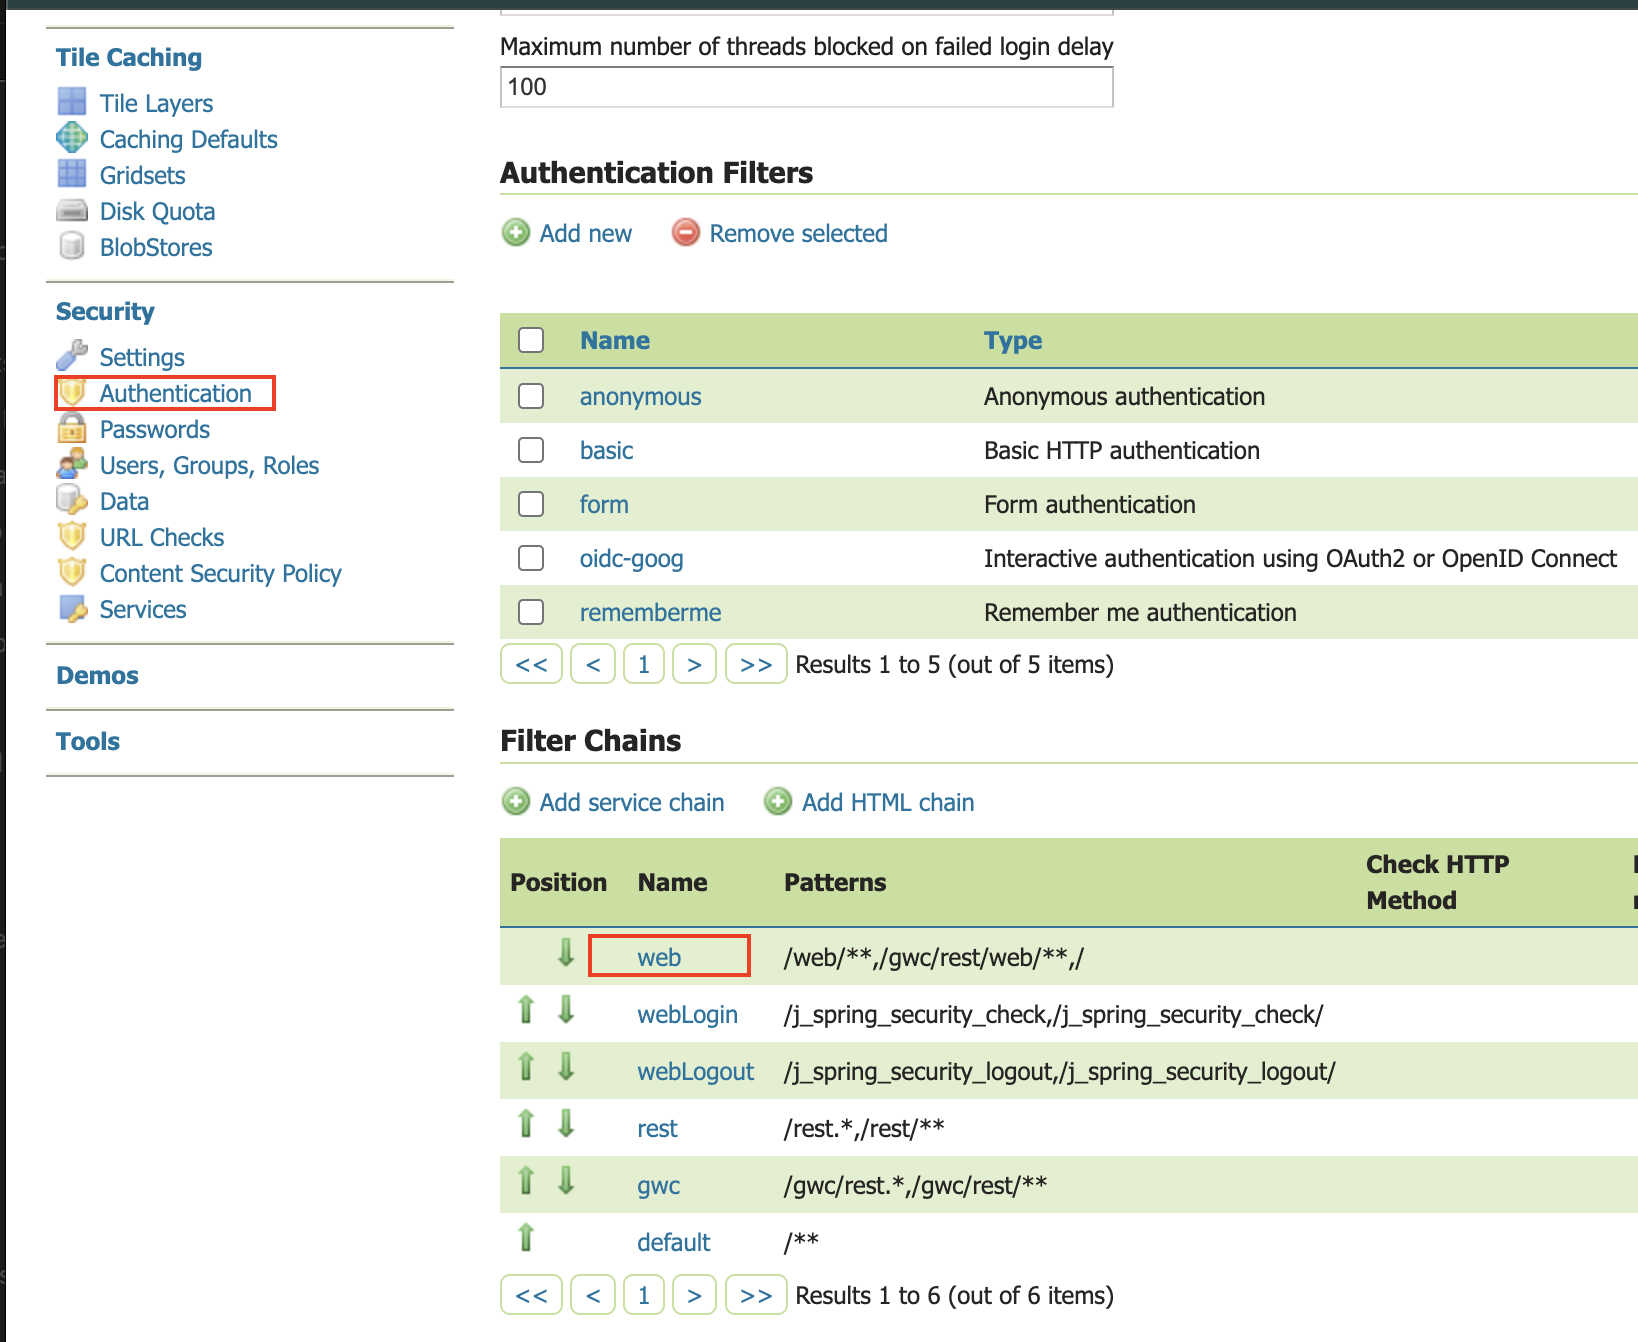
On the left bar under "Security", click "Authentication", and then click "Web" under "Filter Chains"
- Scroll down, and move the new Google OIDC Filter to the Selected side by pressing the "->" button.
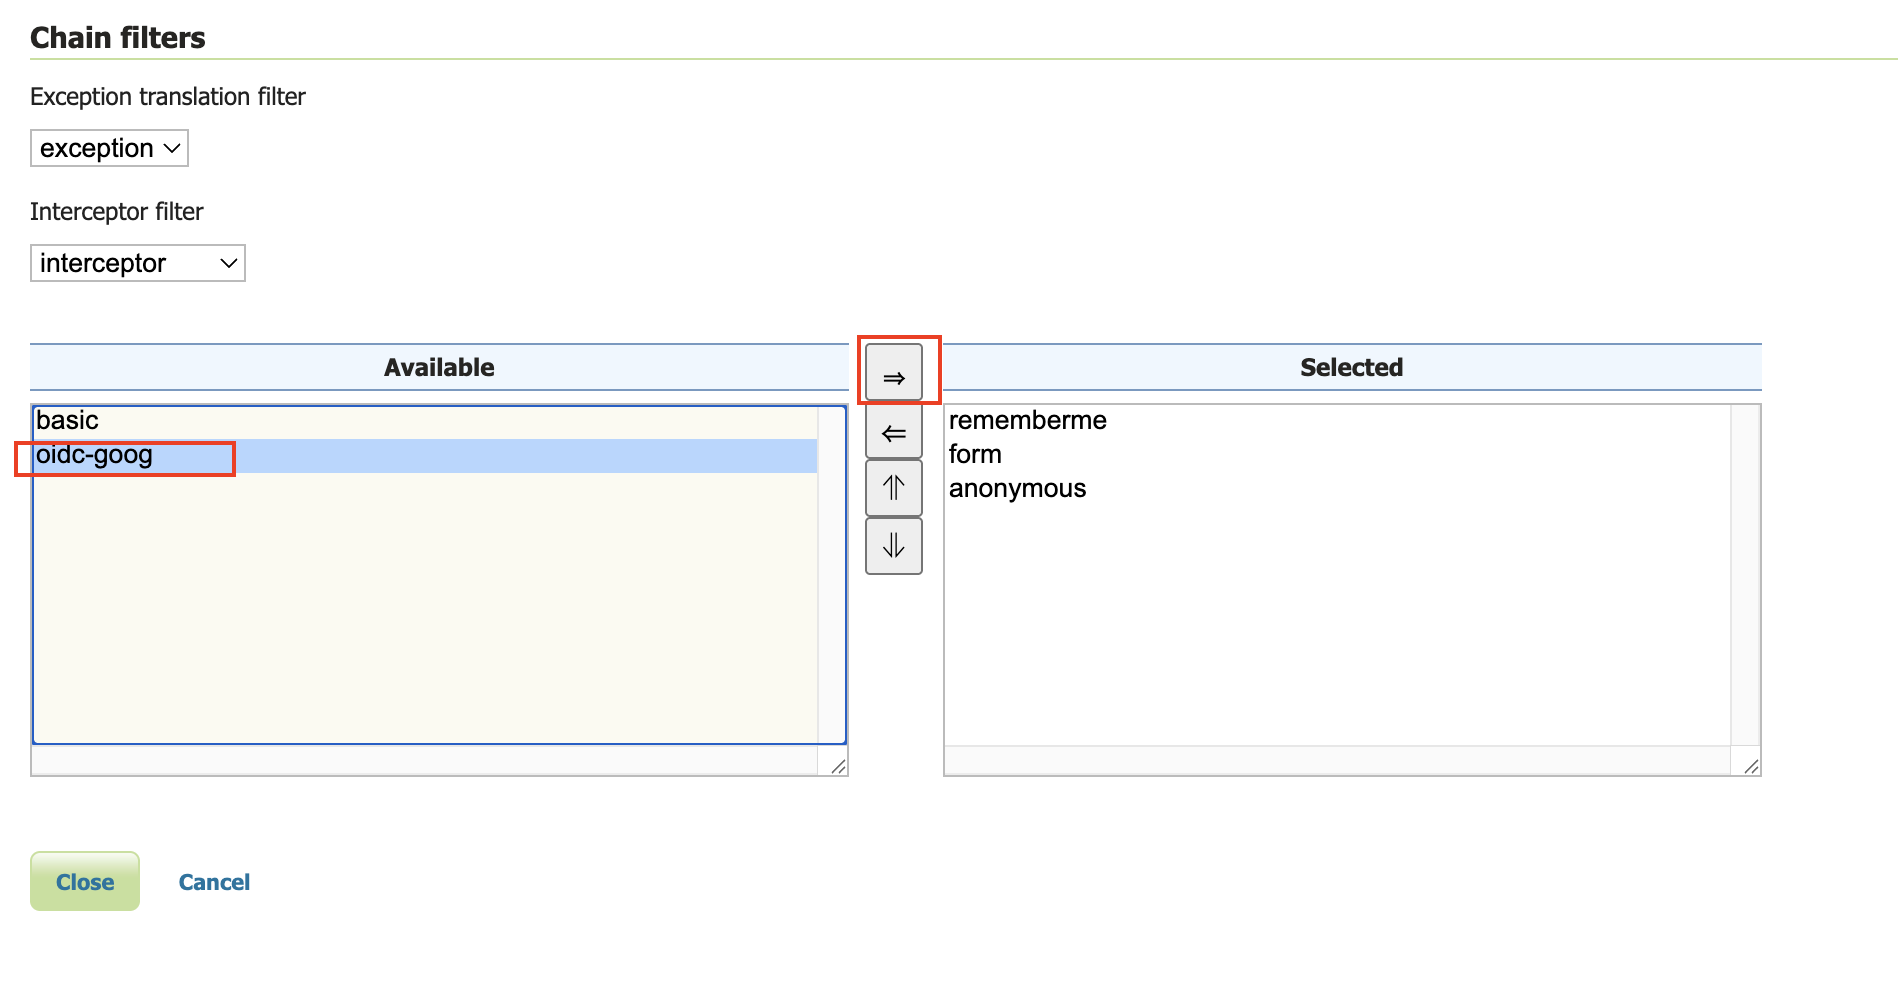
- Move the new Google OIDC Filter above "anonymous" by pressing the up arrow button.
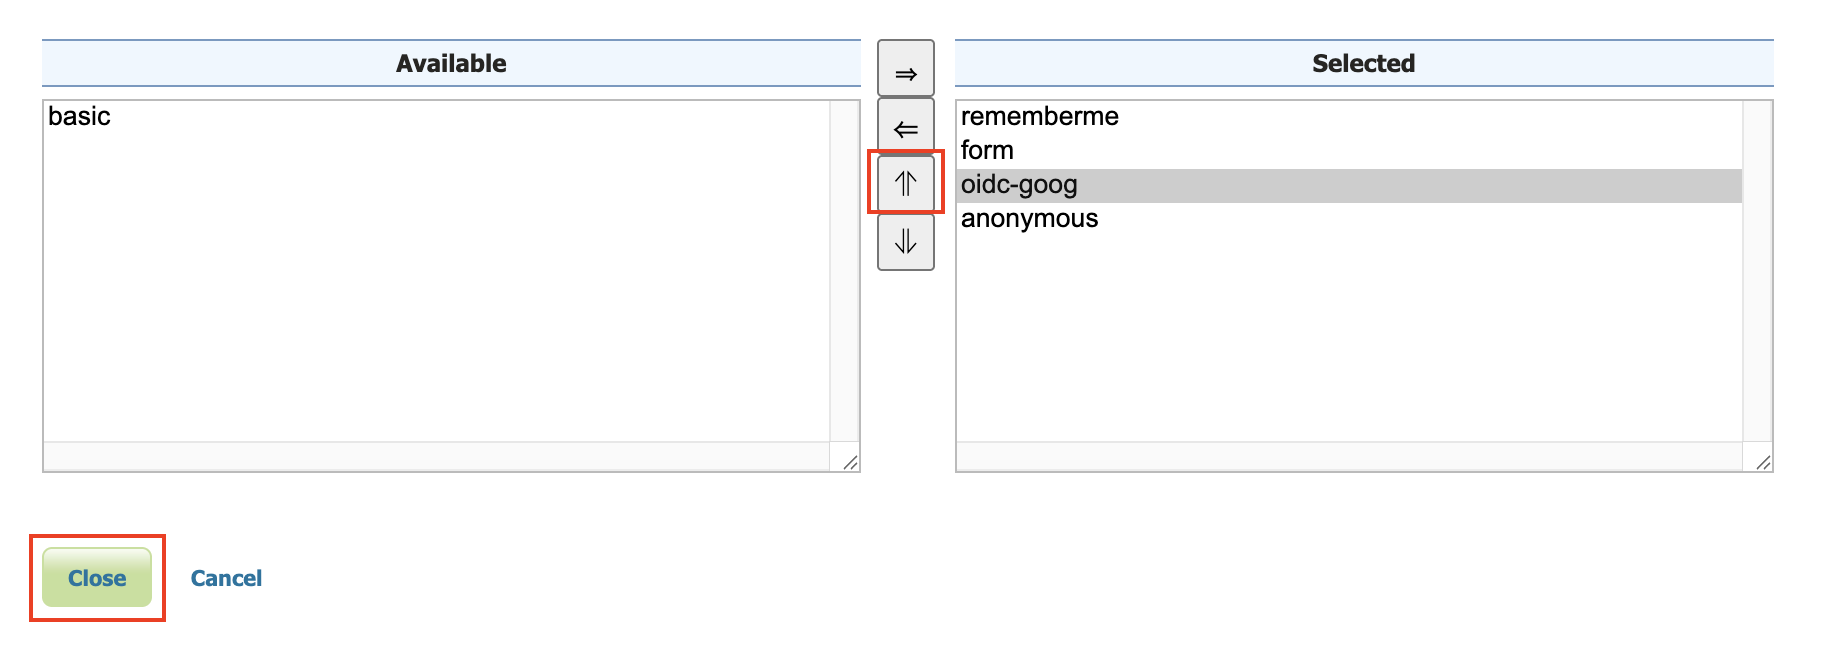
- Press "Close"
- Press "Save"
Notes
See troubleshooting.
-
Google's Access Token is opaque, so configure roles via the ID Token
-
Google's ID Token does not contain very much info
{
   "iss": "https://accounts.google.com",
   "azp": "...",
   "aud": "...",
   "sub": "..",
   "email": "dblasby@gmail.com",
   "email_verified": true,
   "at_hash": "1iKn2vPzlGpK-aY2n3",
   "nonce": "Gi-fBHjrpUdC3o8K6zYhIbEdv1Jz6Zu0IF3sIT",
   "name": "David Blasby",
   "picture": "https://lh3.googleusercontent.com/a/ACg8ocLEhY",
   "given_name": "David",
   "family_name": "Blasby",
   "iat": 175,
   "exp": 175
}