Tomcat Hardening
Hide the Tomcat version in error responses and its error details:
-
To remove the Tomcat version, create the following file with empty parameters:
-
Additionally add to
server.xmlthe ErrorReportValve to disable showReport and showServerInfo. This is used to hide errors handled globally by tomcat in the host section.Add to
Host name=...section this new ErrorReportValve entry: -
Even though this is partial solution, it at least mitigates the visible eye-catcher of outdated software packages.
Response with just HTTP status confirms Tomcat is installed with no additional detail.
-
Notice: For support reason, the local output of
version.shstill outputs the current version :
Why hide version number
Prior to performing the configuration steps above, the default full response includes the version number:
HTTP Status 400 – Bad Request
Type Status Report
Message Invalid URI
Description The server cannot or will not process the request due to something that is perceived to be a client error (e.g., malformed request syntax, invalid request message framing, or deceptive request routing).
Apache Tomcat/11.0.7.0
This response indicates this instance of Tomcat is from May 7 2025 (1 year old at the time of writing Apr. 2026).
An attacker can search for Tomcat version 11.0.7.0 to obtain a list of known vulnerabilities.
Running
-
Use your container application's method of starting and stopping webapps to run GeoServer.
-
To access the Web administration interface, open a browser and navigate to
http://SERVER/geoserver.For example, with Tomcat running on port 8080 on localhost, the URL would be
http://localhost:8080/geoserver. -
When you see the GeoServer Welcome page, GeoServer has been successfully installed.
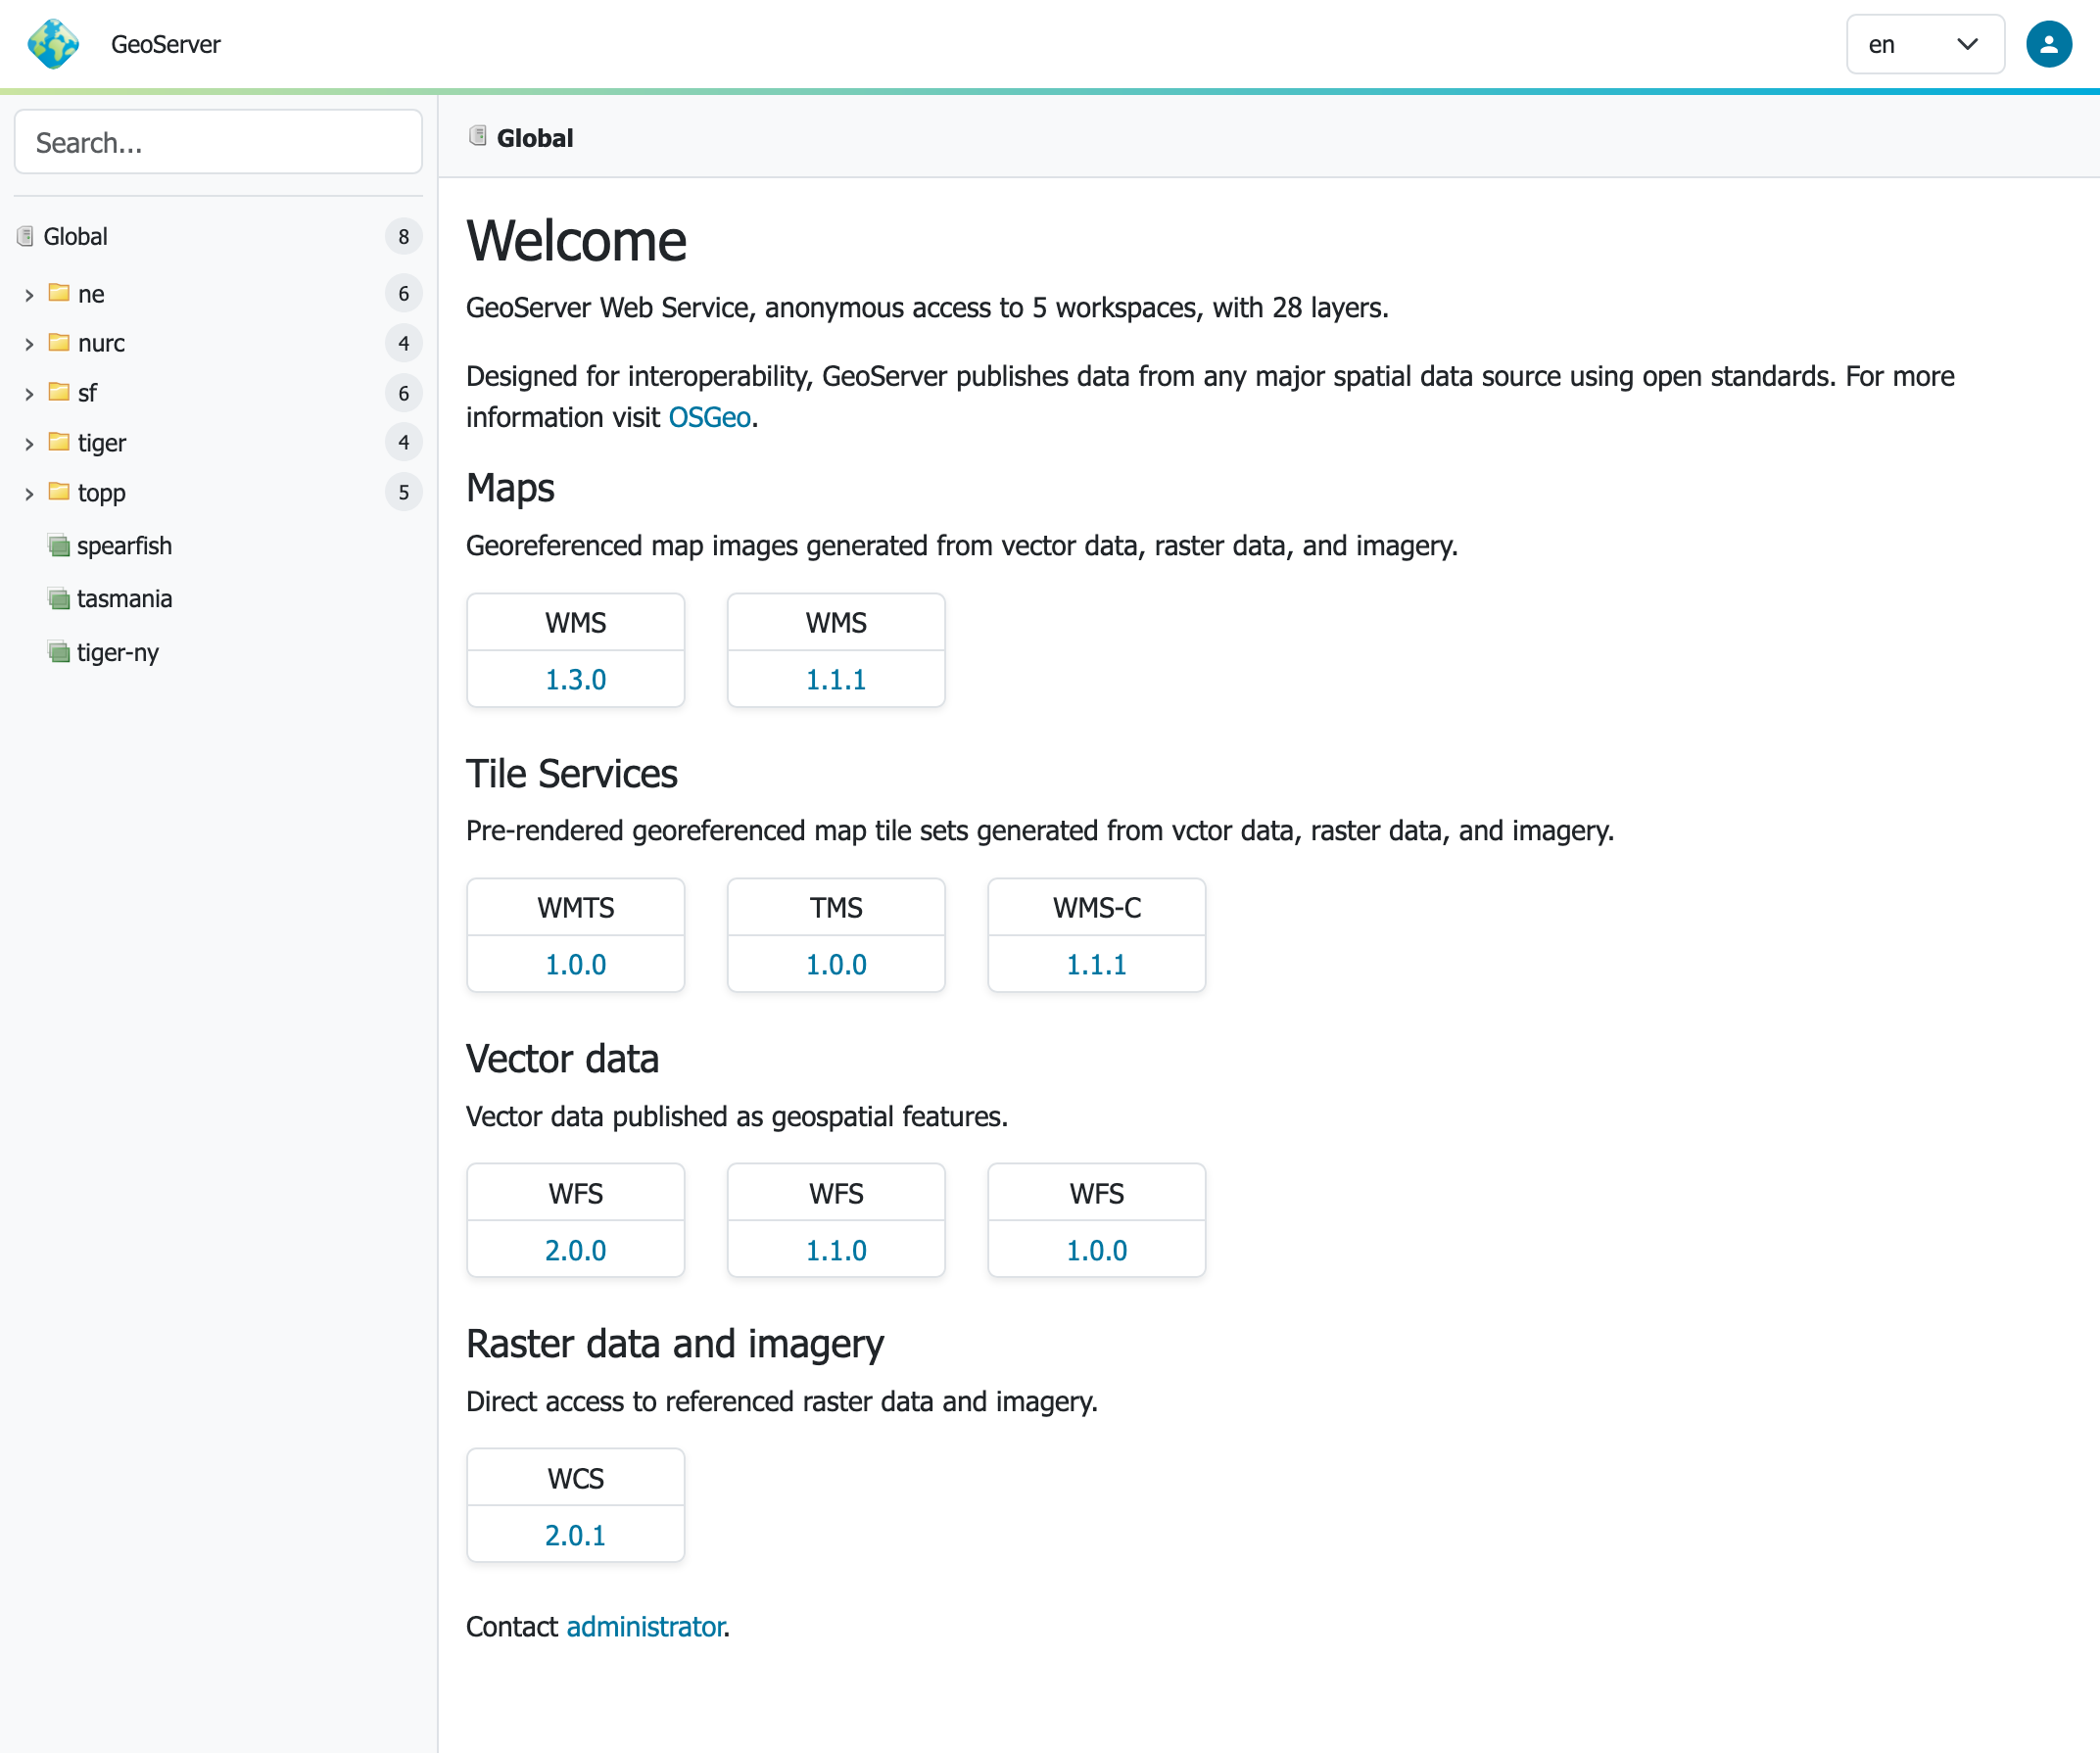
GeoServer Welcome Page
Update
Update GeoServer:
- Backup any customizations you have made to
webapps/geoserver/web.xml.
In general application properties should be configured using conf/Catalina/localhost/geoserver.xml rather than by modifying web.xml which is replaced each update.
-
Follow the Upgrading GeoServer to update
geoserver.war.Before you start, ensure you have moved your data directory to an external location not located inside the
webapps/geoserver/datafolder. -
Be sure to stop the application server before deploying updated
geoserver.war.This is important as when Tomcat is running it will replace the entire
webapps/geoserverfolder, including any configuration in the default GEOSERVER_DATA_DIRgeoserver/datafolder location or customizations made toweb.xml. -
Re-apply any customizations you have made to
webapps/geoserver/web.xml.
Update Tomcat:
-
Update regularly at least the container application, and repeat the hardening process.
This is a general problem, there are lots of visibly outdated Tomcat installations on the web.
Uninstallation
-
Stop the container application.
-
Remove the GeoServer webapp from the container application's
webappsdirectory. This will usually include thegeoserver.warfile as well as ageoserverdirectory.Remove
conf/Catalina/localhost/geoserver.xml.