This will setup a Docker container running Keycloak and setup a Keycloak Realm and Client for GeoServer. For more information on the Keycloak Docker container see here and here and here.
Run Keycloak v26.1 as a Docker Container running on port 7777 with the admin login user “geoserver” and admin password “geoserver”. This assumes your GeoServer is running on http://localhost:8080.
Access the Keycloak administration interface at http://localhost:7777/ and login as “geoserver/geoserver”.
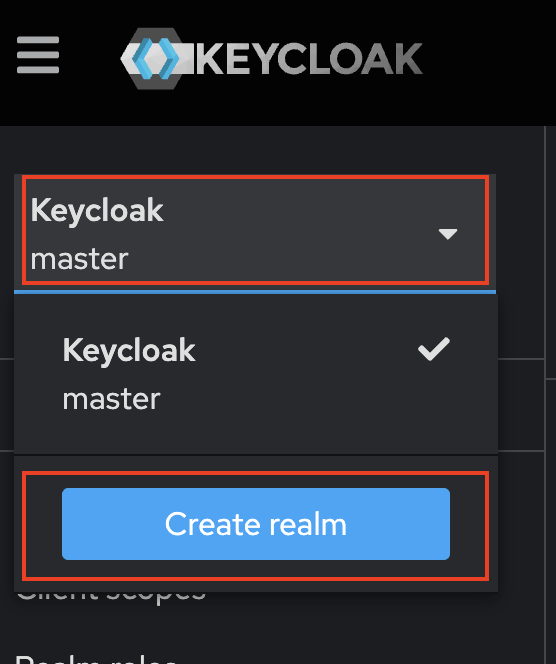
In the top left corner, click on “Keycloak master” and then “Create realm”
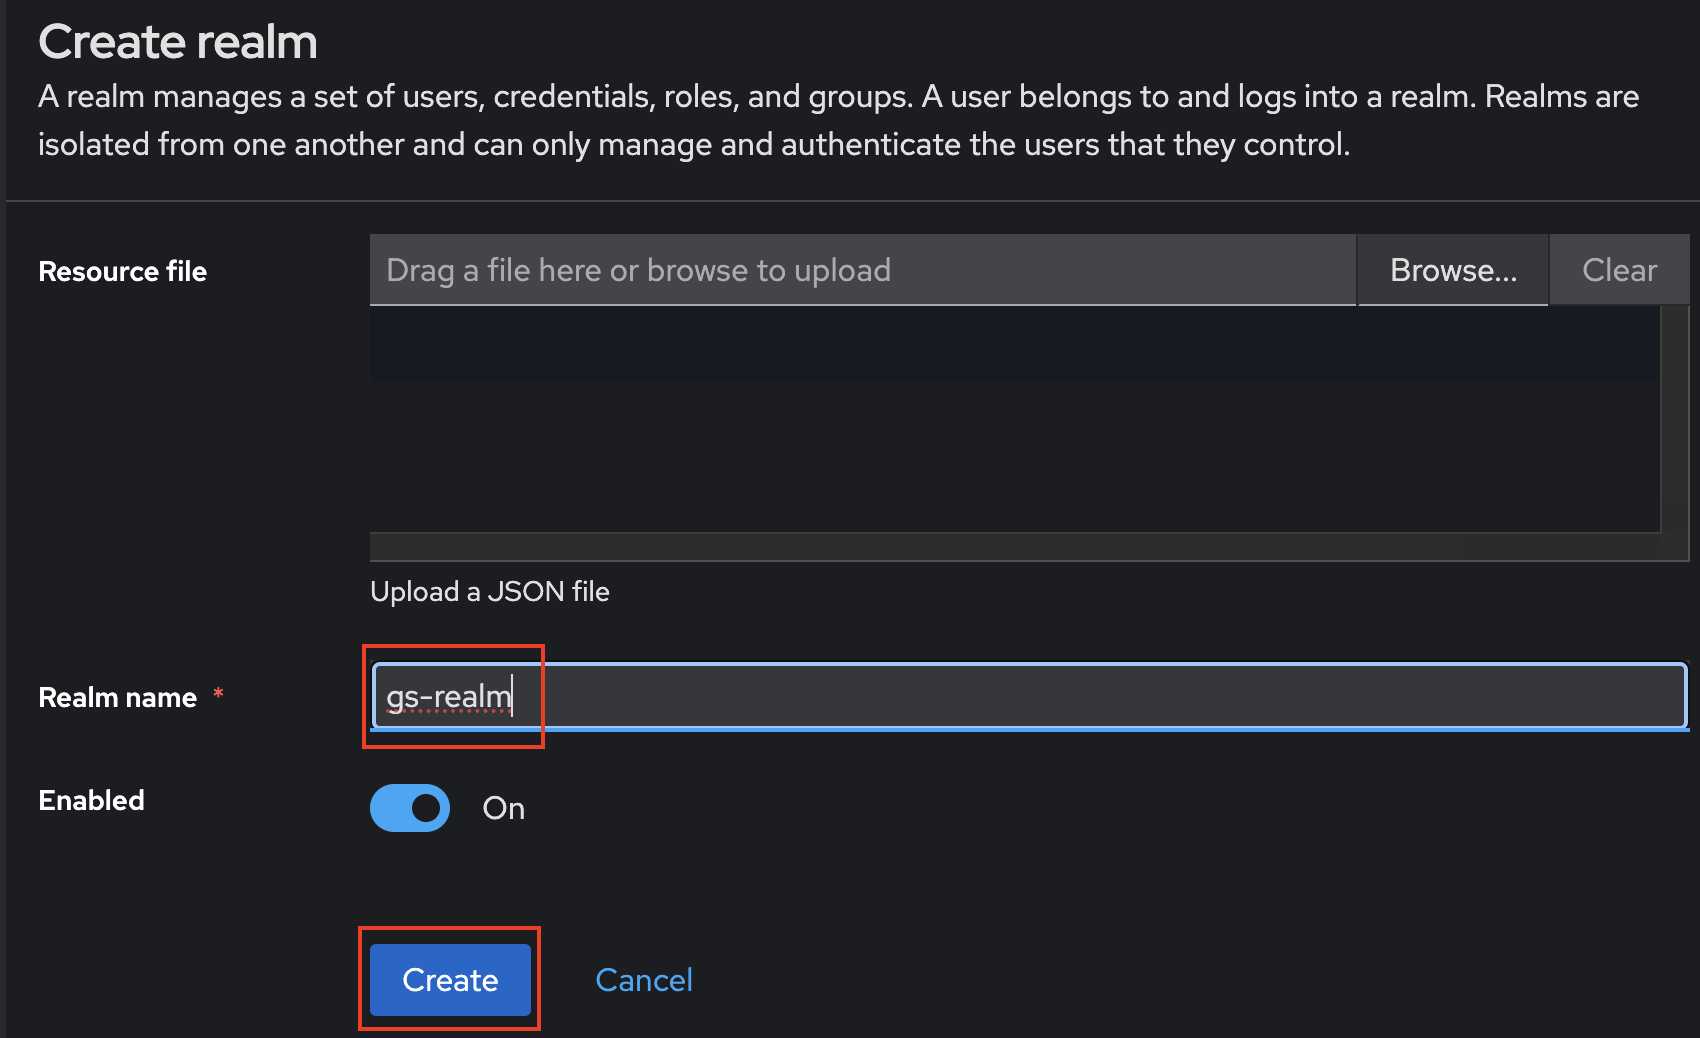
Give the realm a name (i.e. “gs-realm”) and then press “Create”
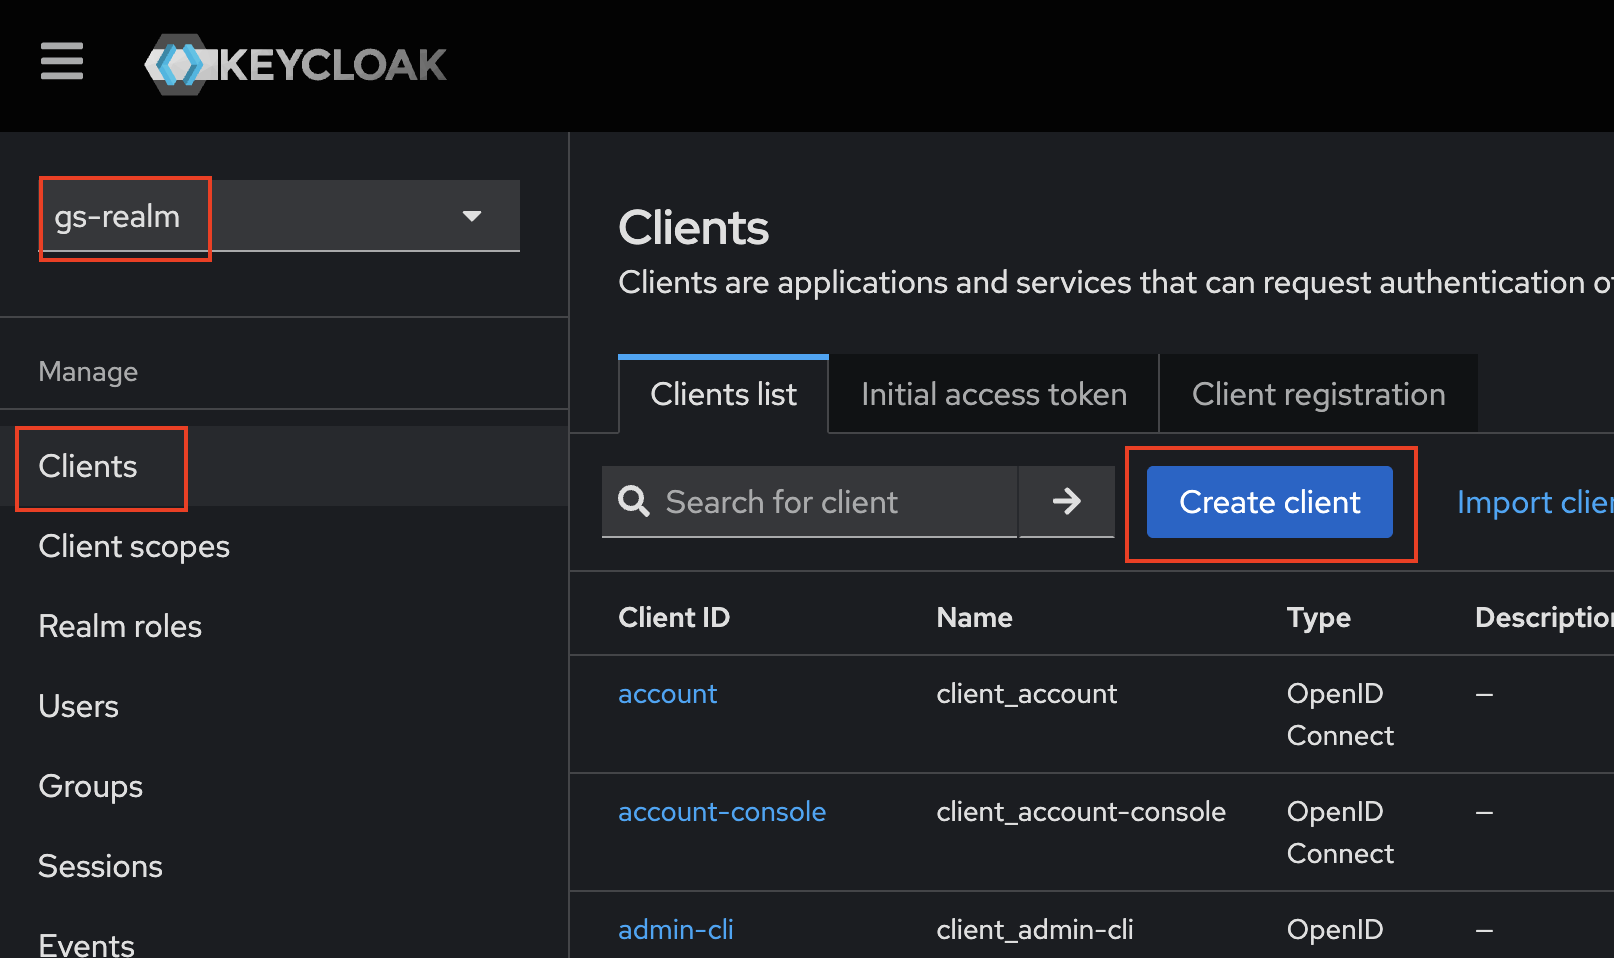
On the left bar, press “Clients” for your new realm, then “Create client”
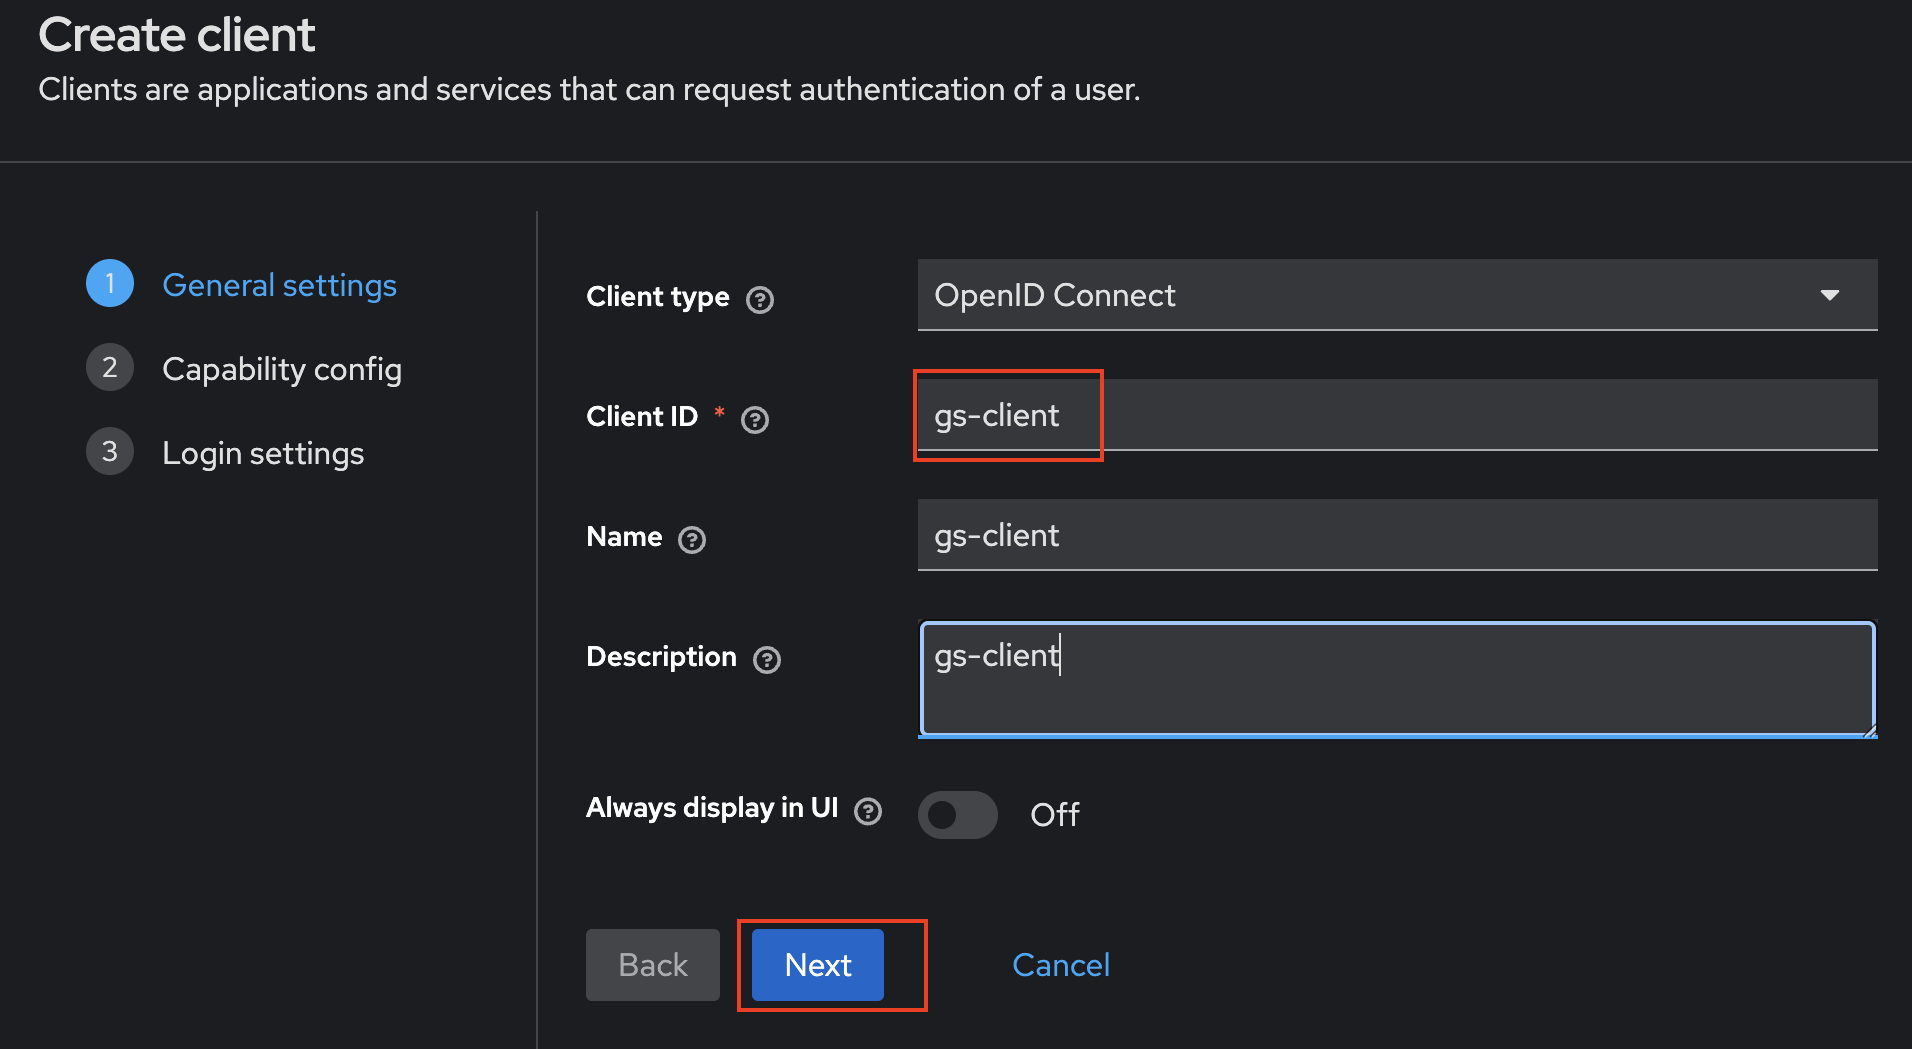
Give the new Client a name (“gs-client”) and press “Next”
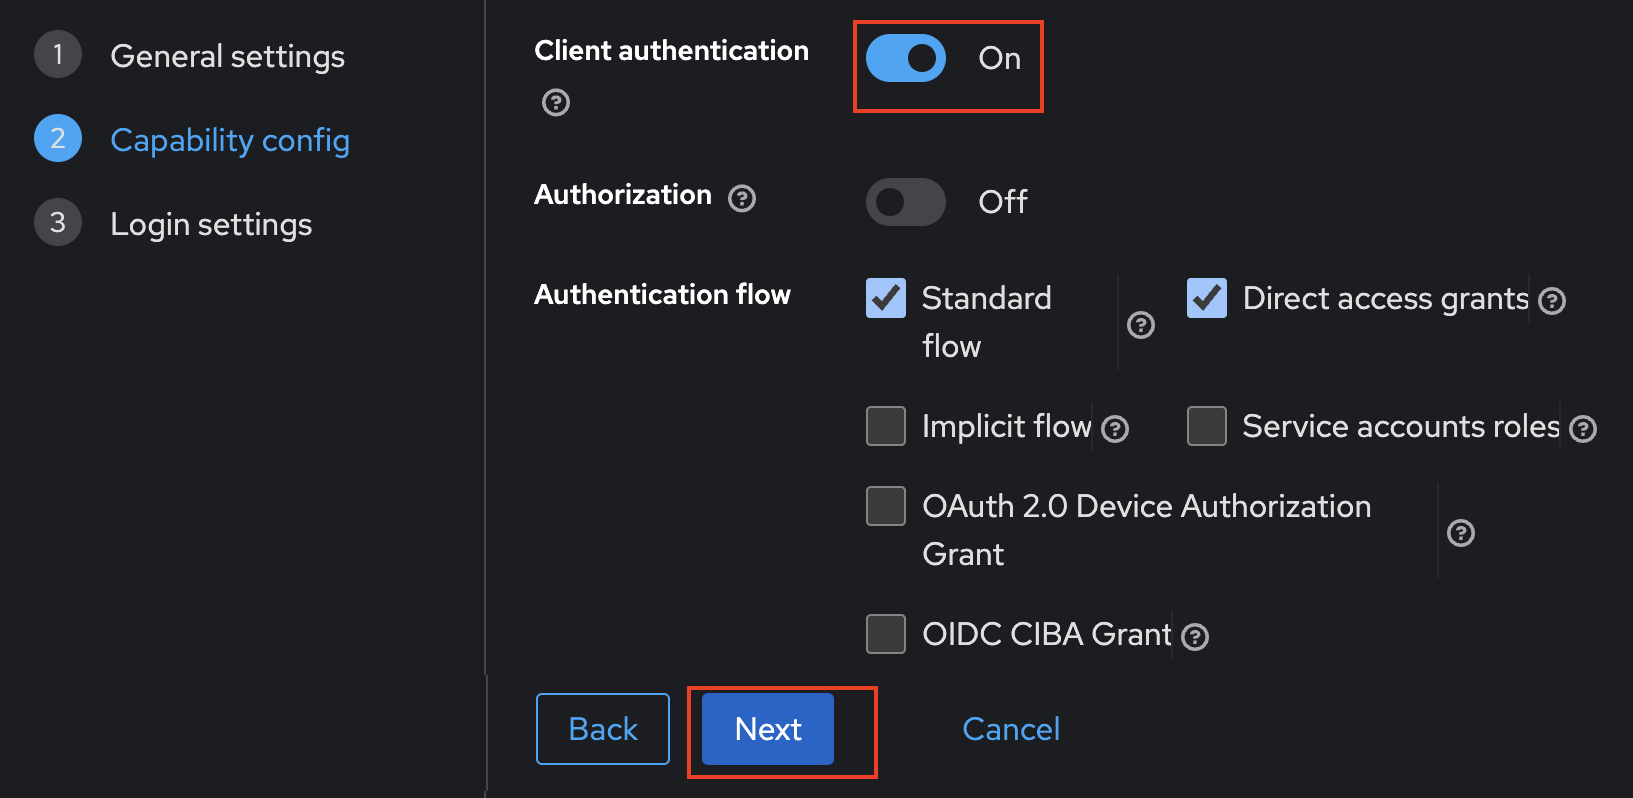
Turn on “Client authentication” and then press “Next”
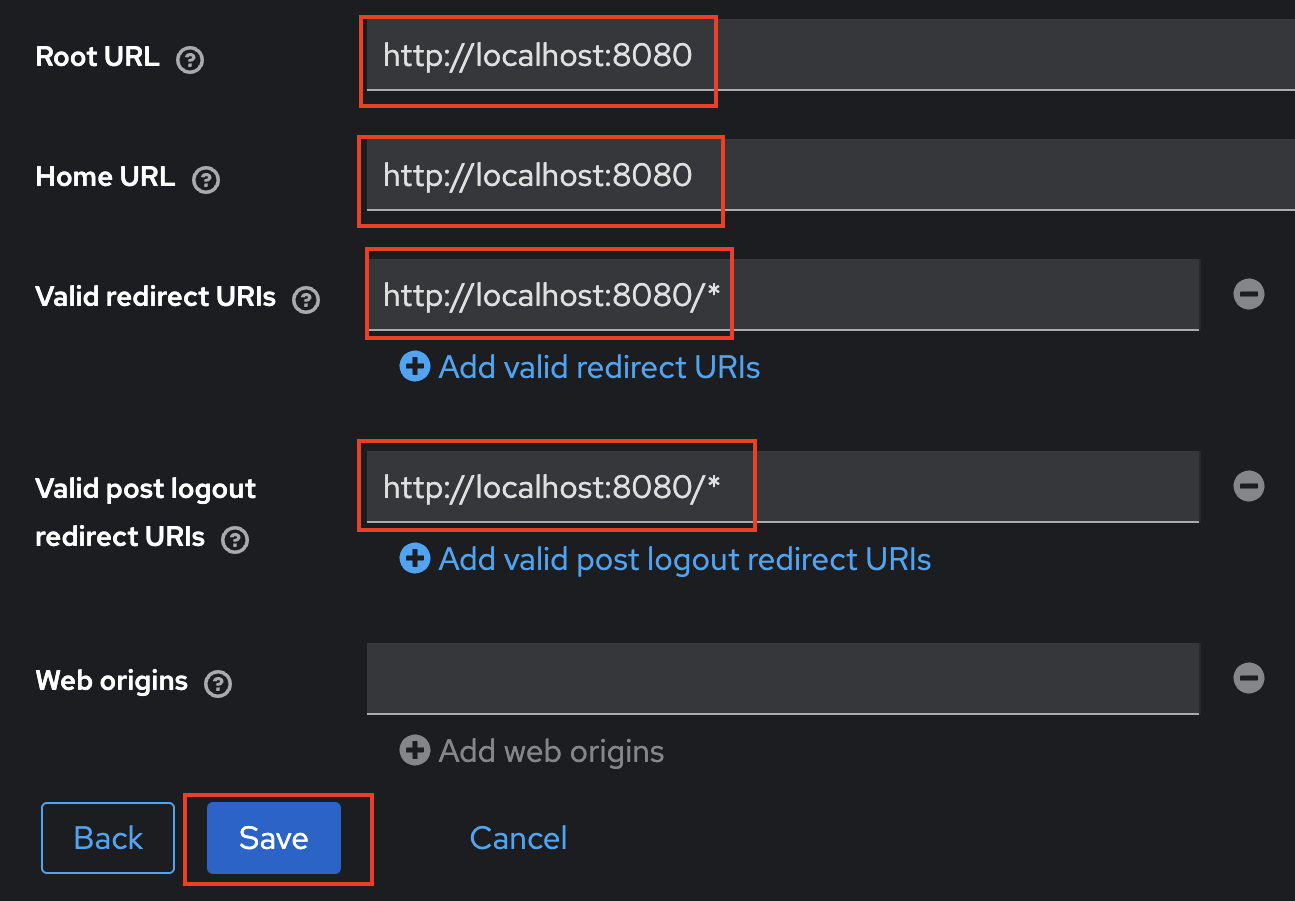
Set the “Root URL” and “Home URL” as “http://localhost:8080”. Set the “Valid post logout redirect URIs” and “Valid redirect URIs” as “http://localhost:8080/*”. Then press “Save”.
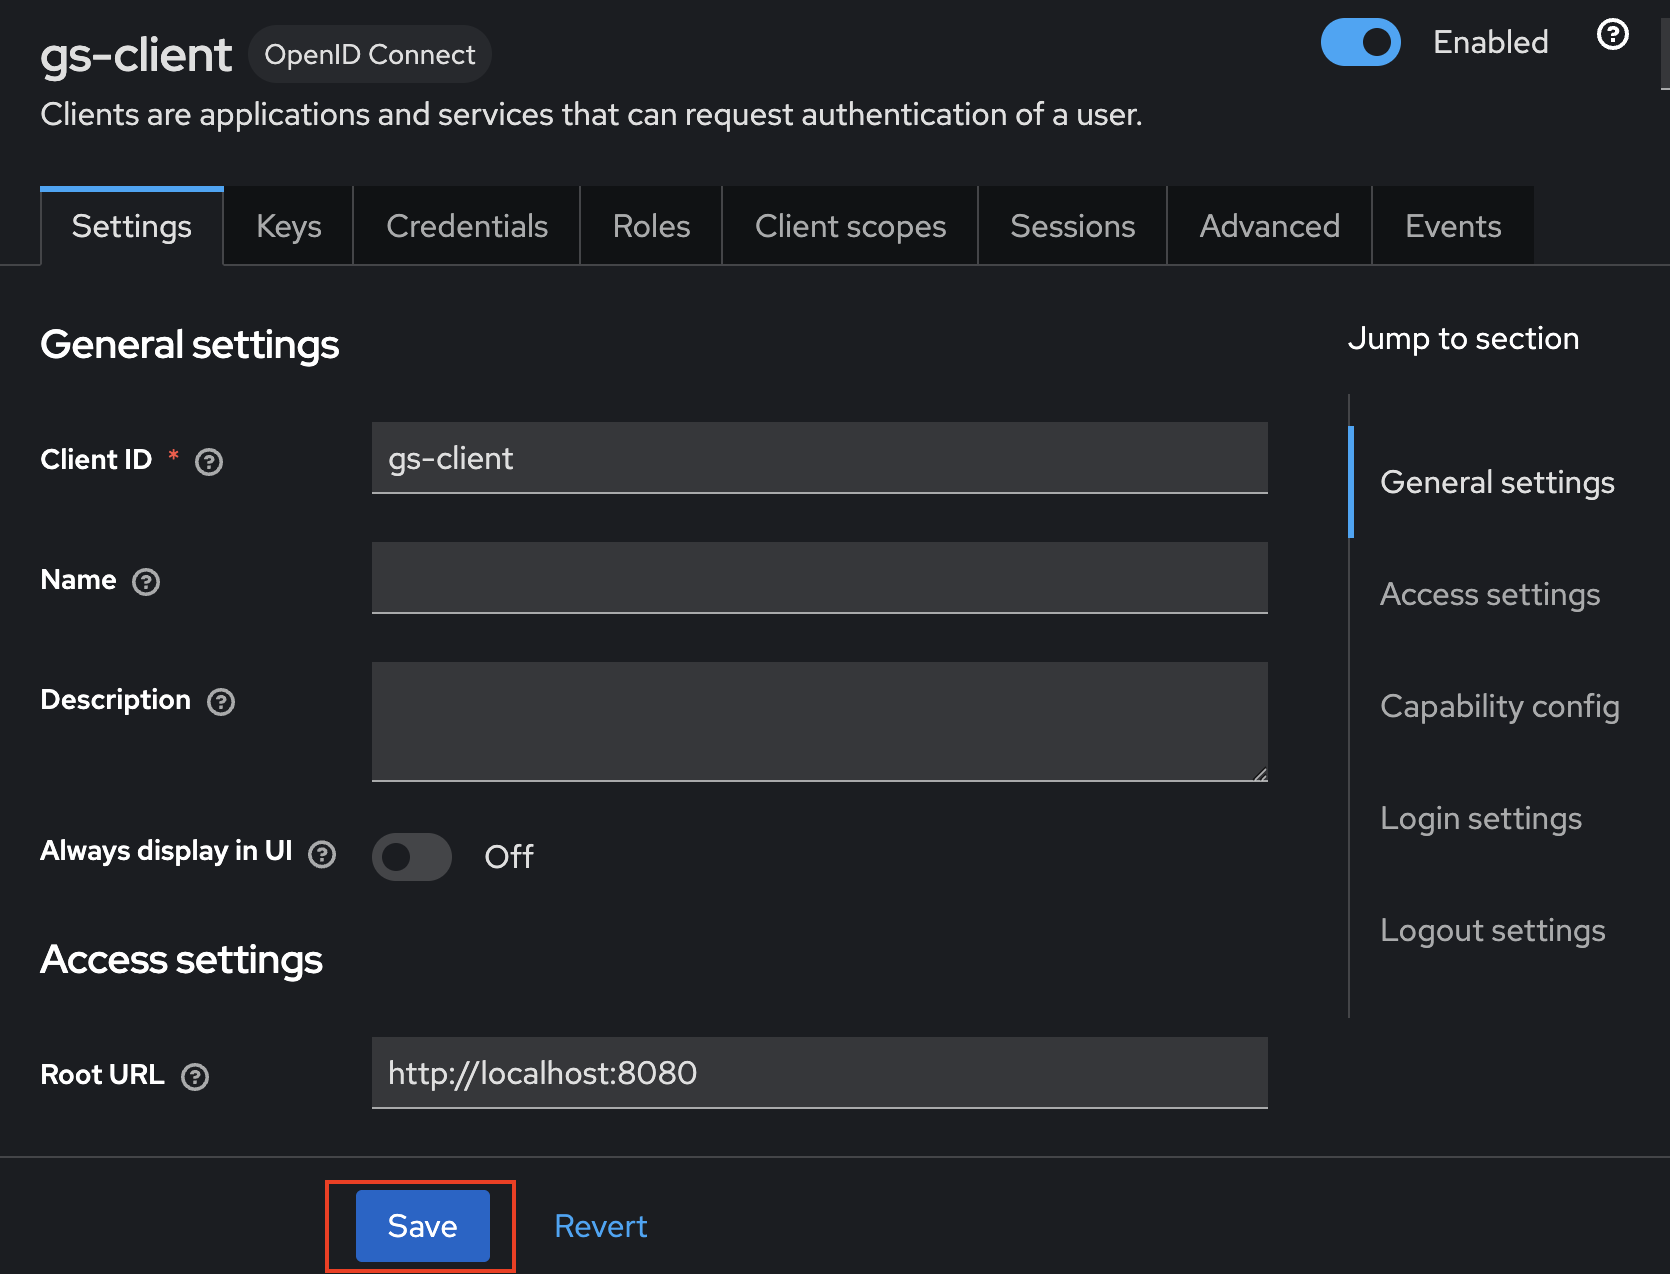
Press “Save” (again).
You have now configured the “gs-realm” with a “gs-client”.
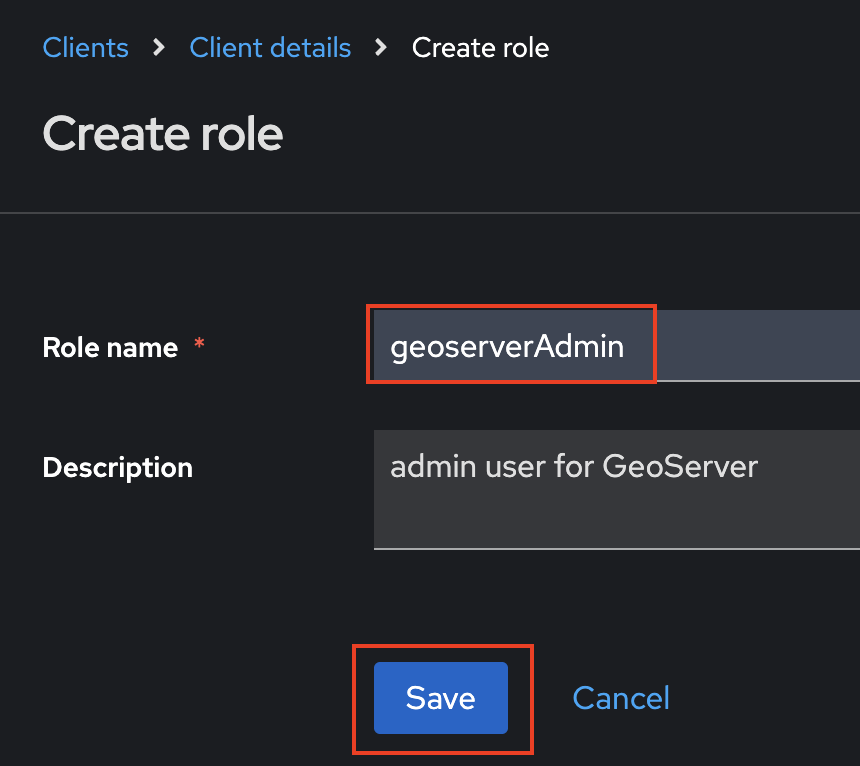
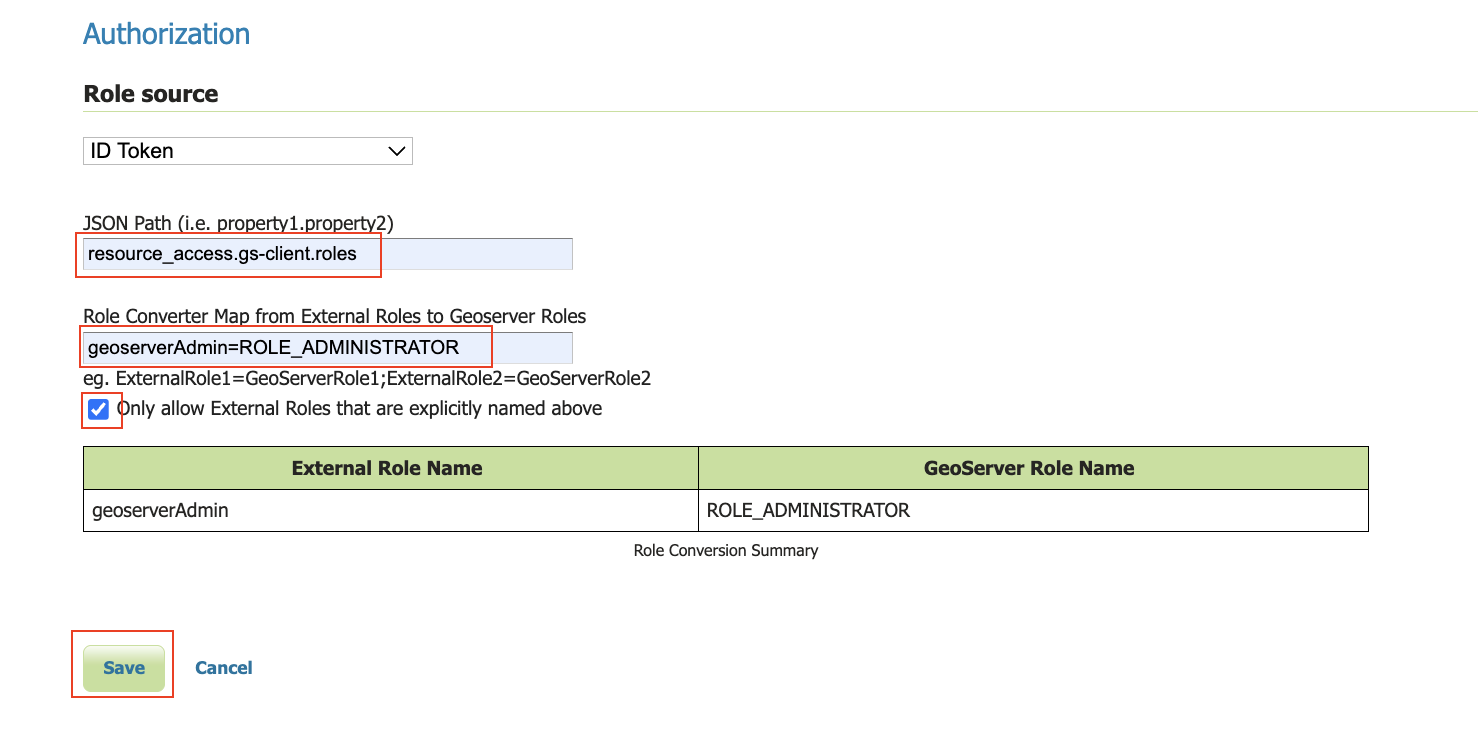
“admin/admin” who has administration rights (role “geoserverAdmin”)
“user/user” who does not have administration rights
We will also put the Keycloak roles in the ID Token. By default, keycloak only puts the roles in the Access Token JWT (not in the ID Token).
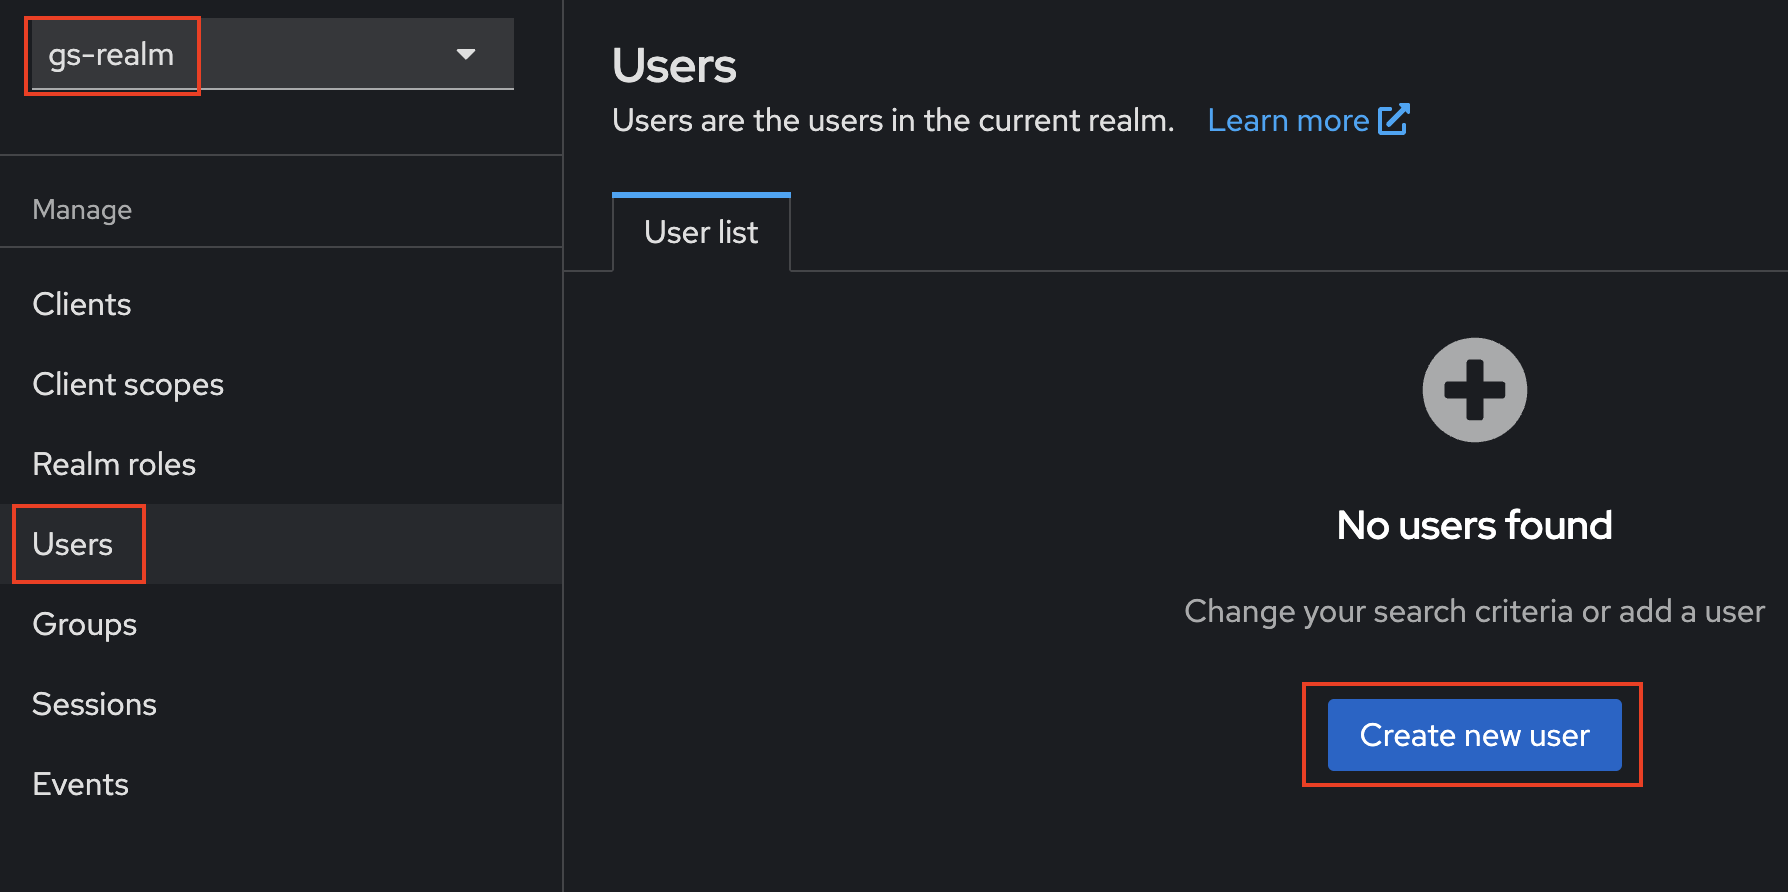
Go to your Realm (“gs-realm”) - check the top left corner.
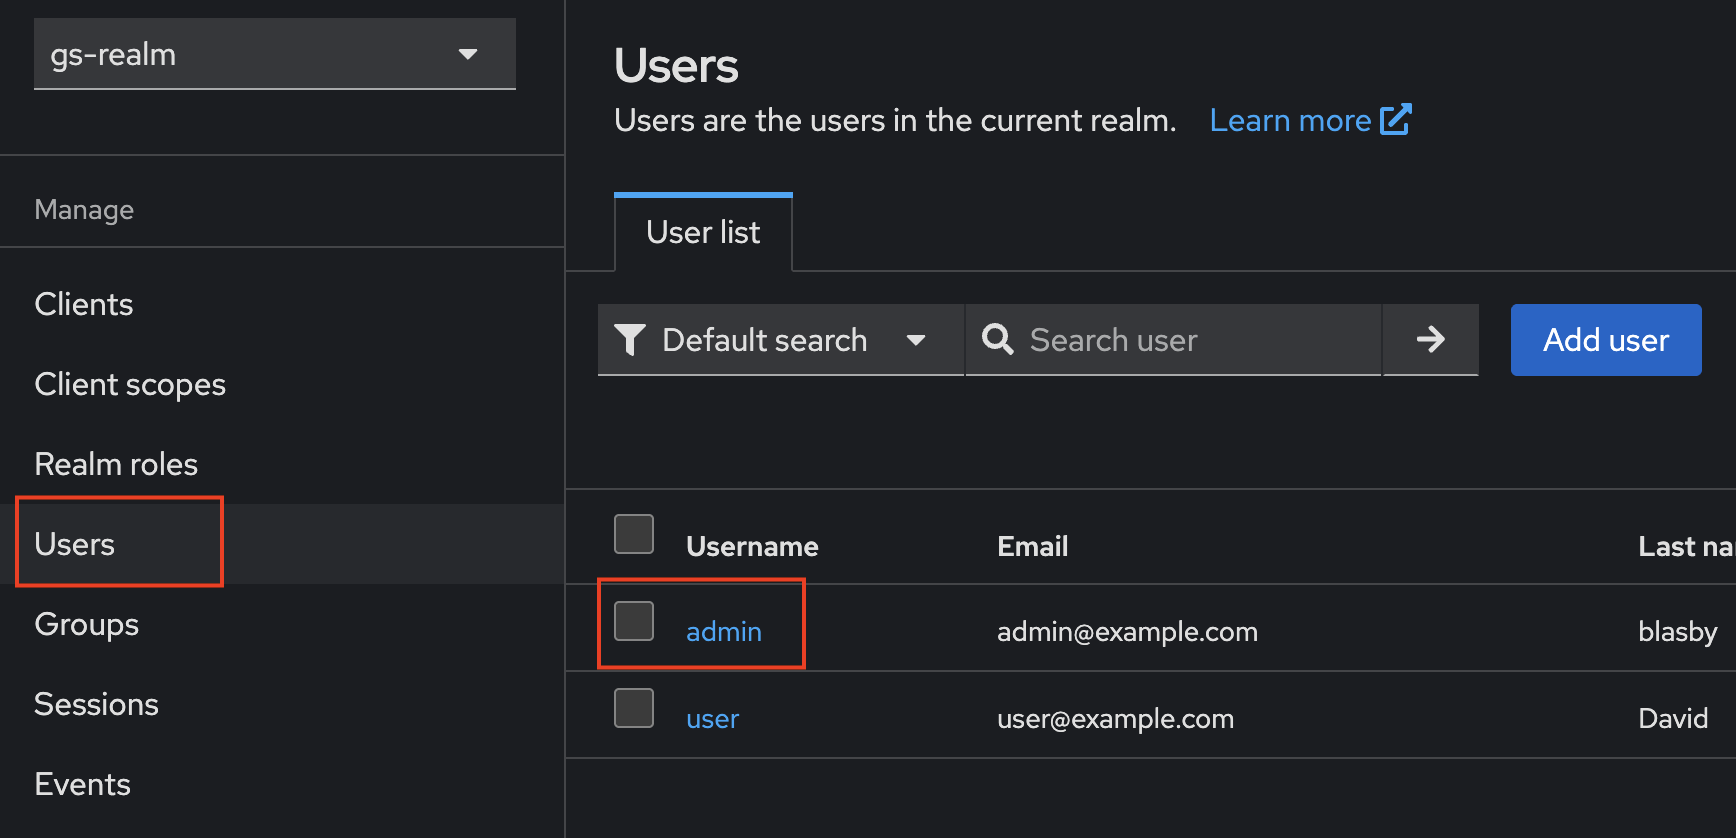
Press “Users” (left column) and then “Create new User”
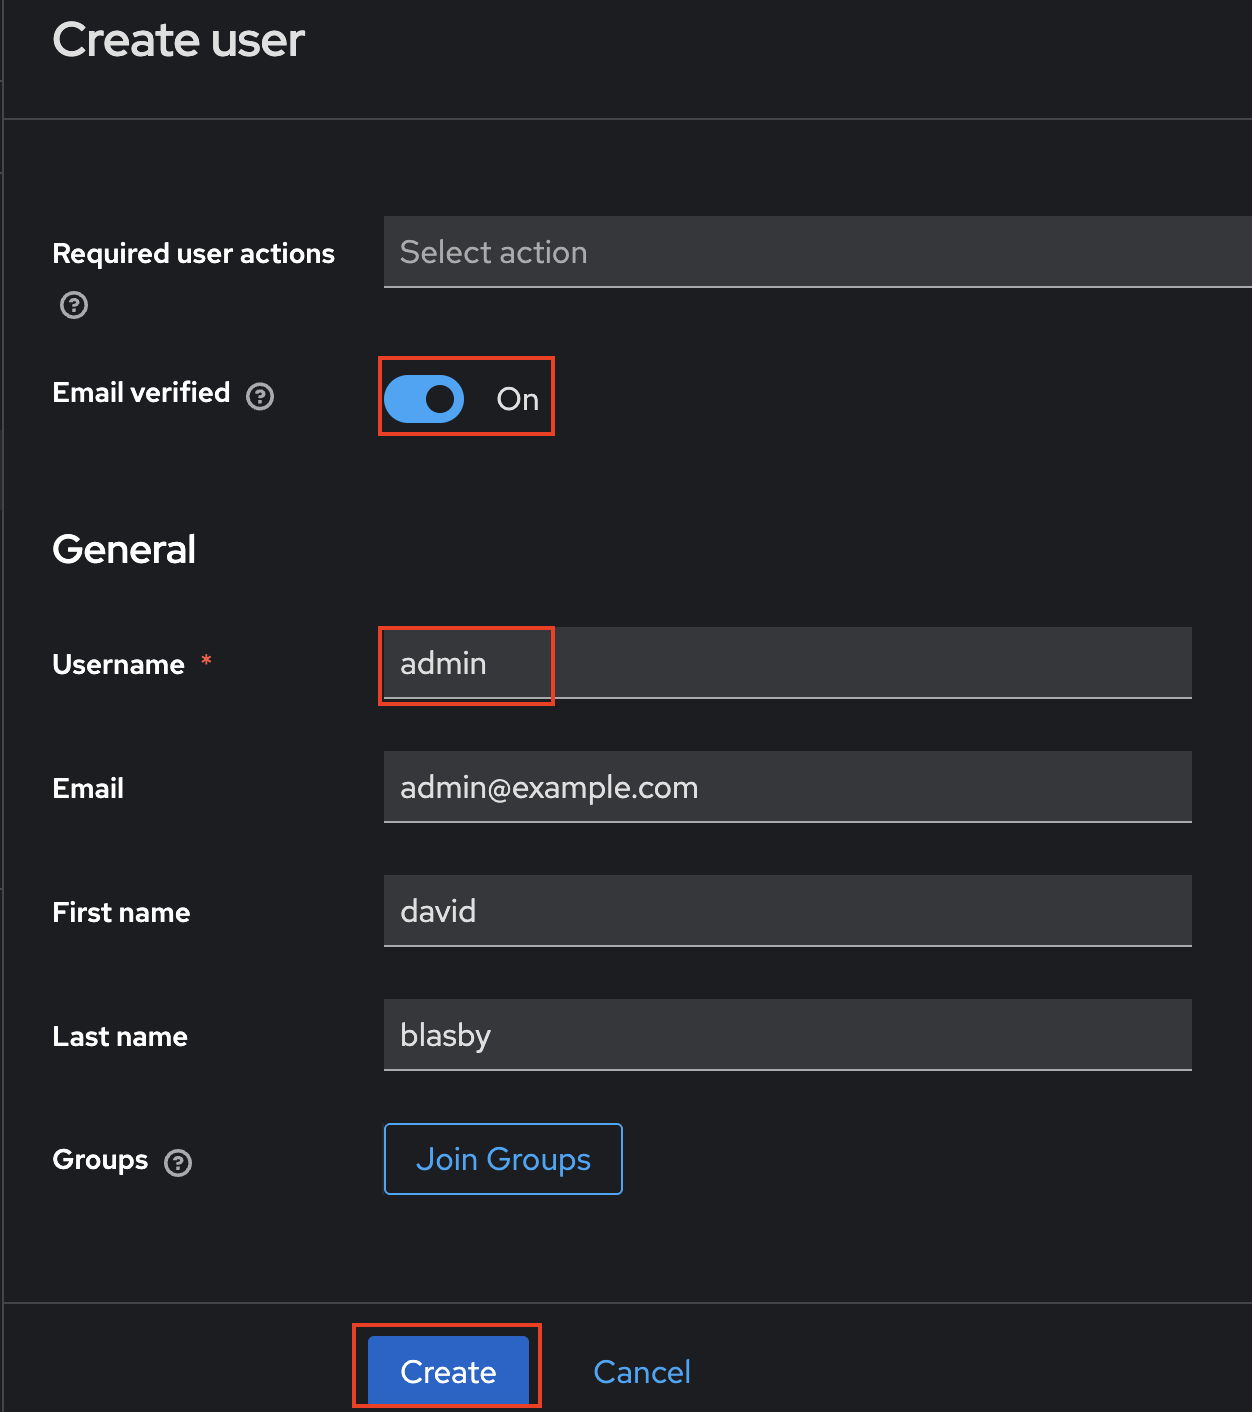
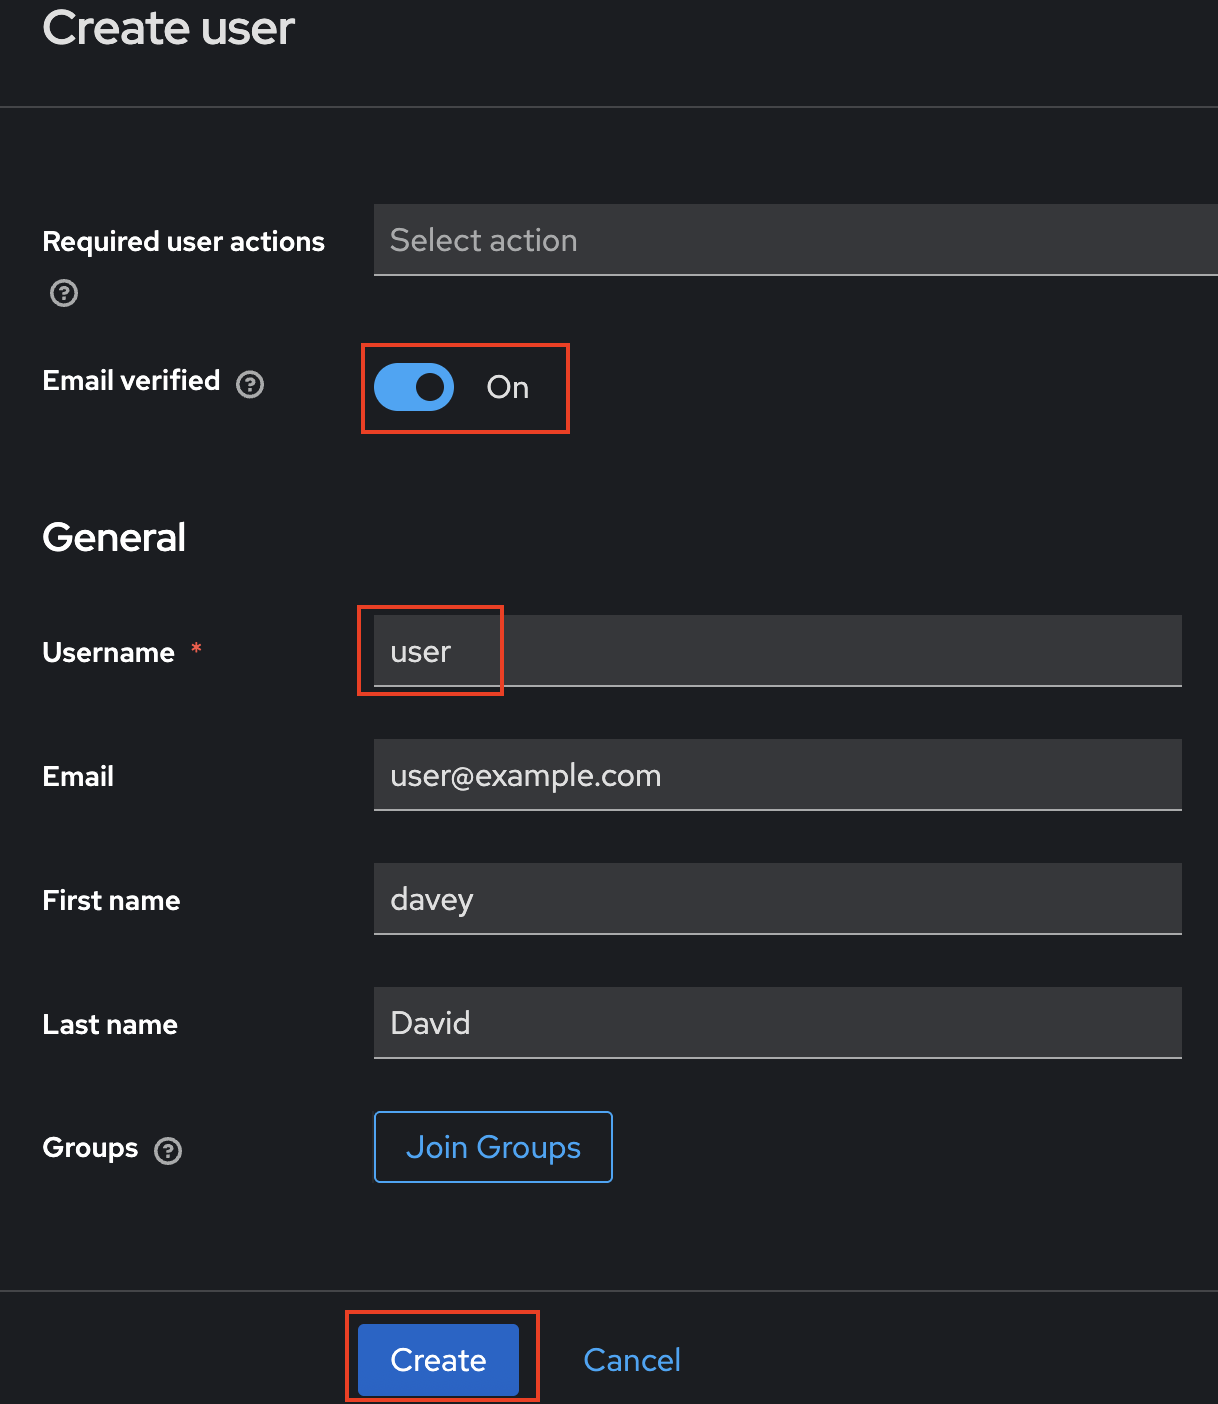
Create the “admin” user - you can use your own name and email if you want. Ensure that the user’s email is verified. When finished, press “Create”.
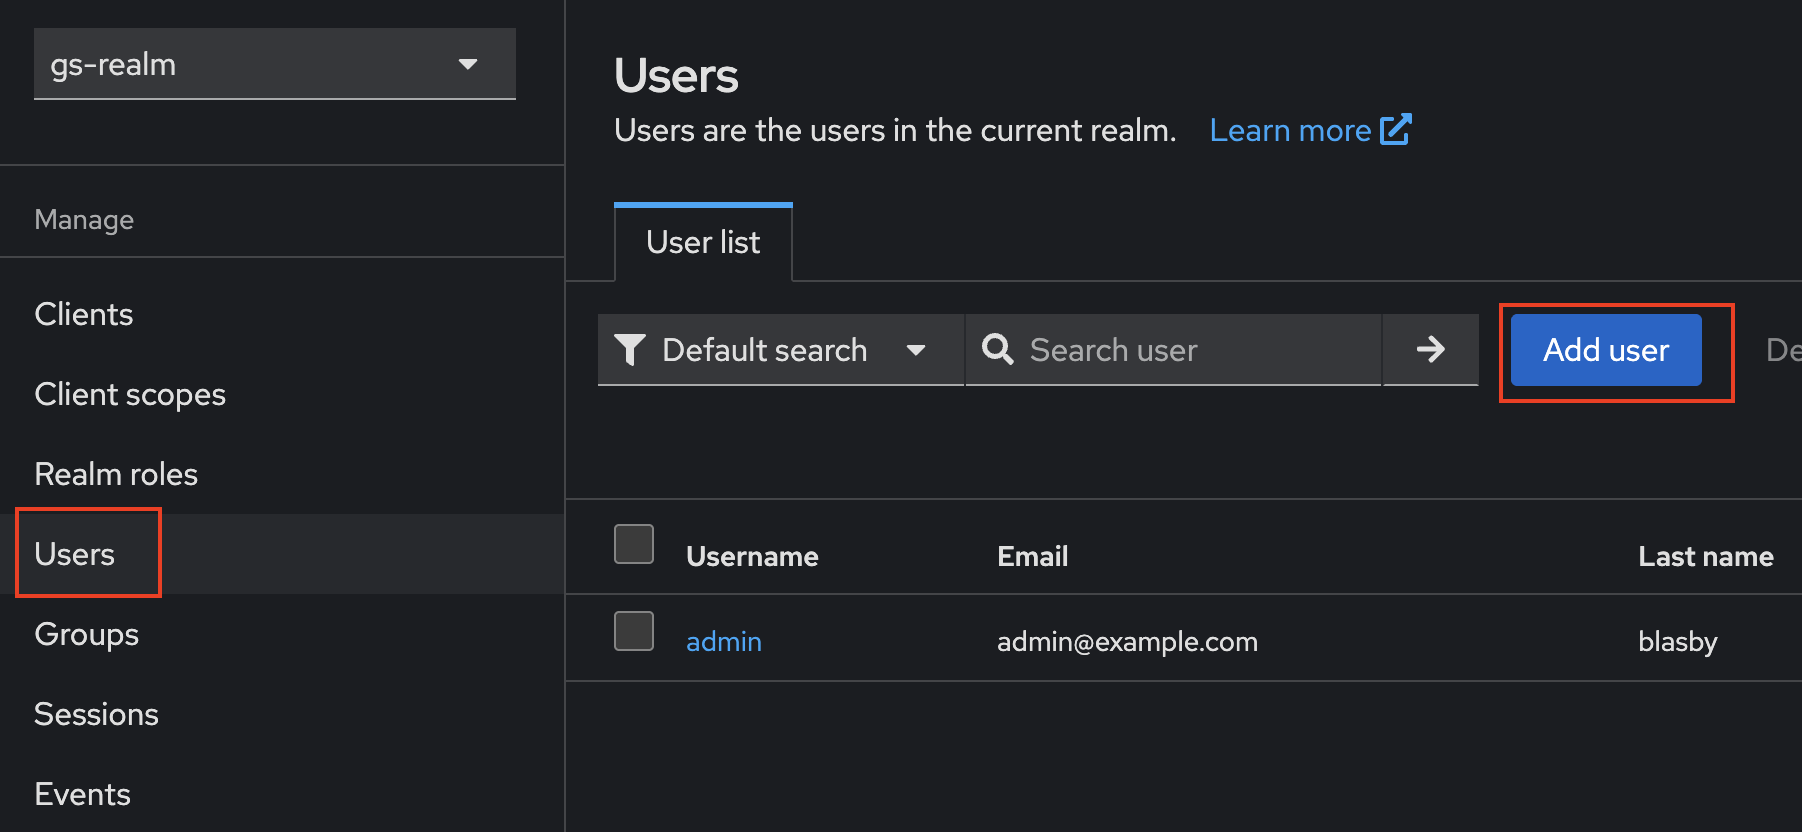
Press the “Users” (left column) again, and then “Add User”.
Add the “user” user. Ensure that the user’s email is verified. When finished, press “Create”. On he next screen, press “Save”.
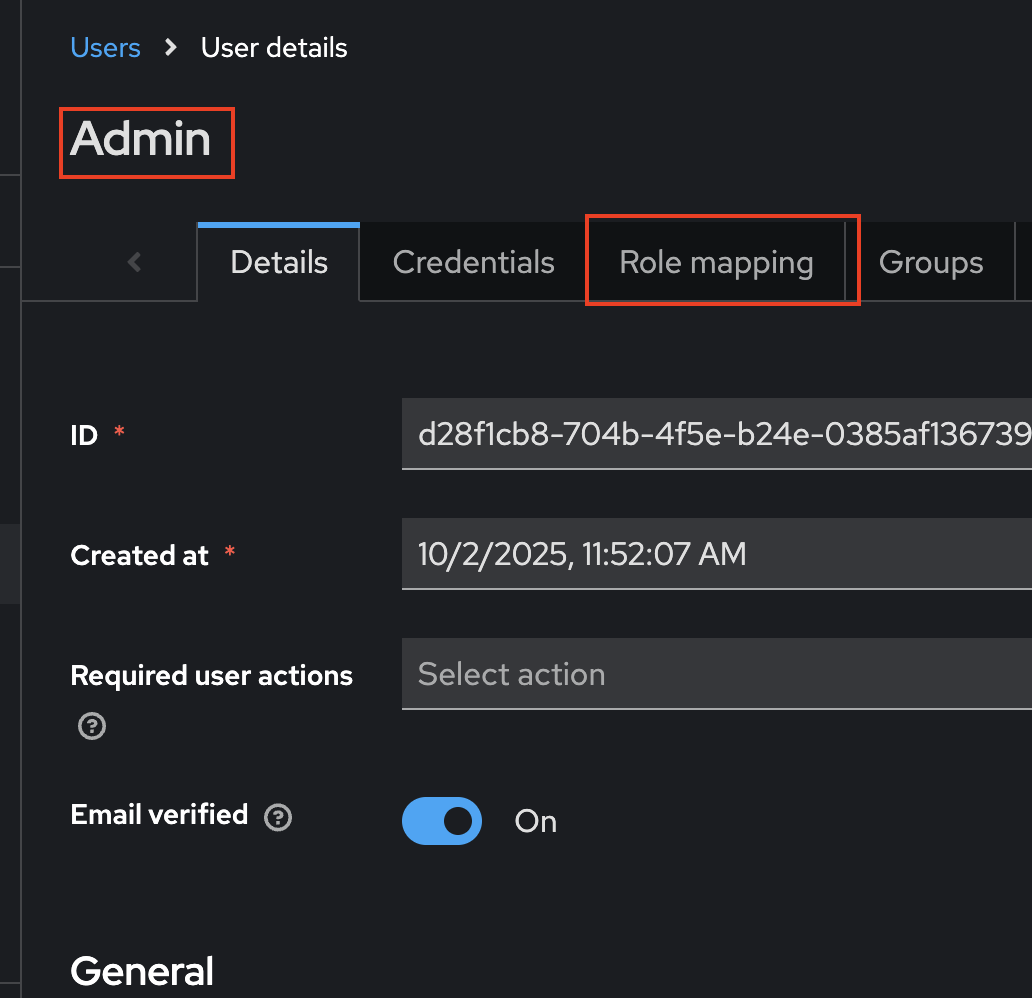
Press the “Users” (left column) again, then click on the “admin” user.
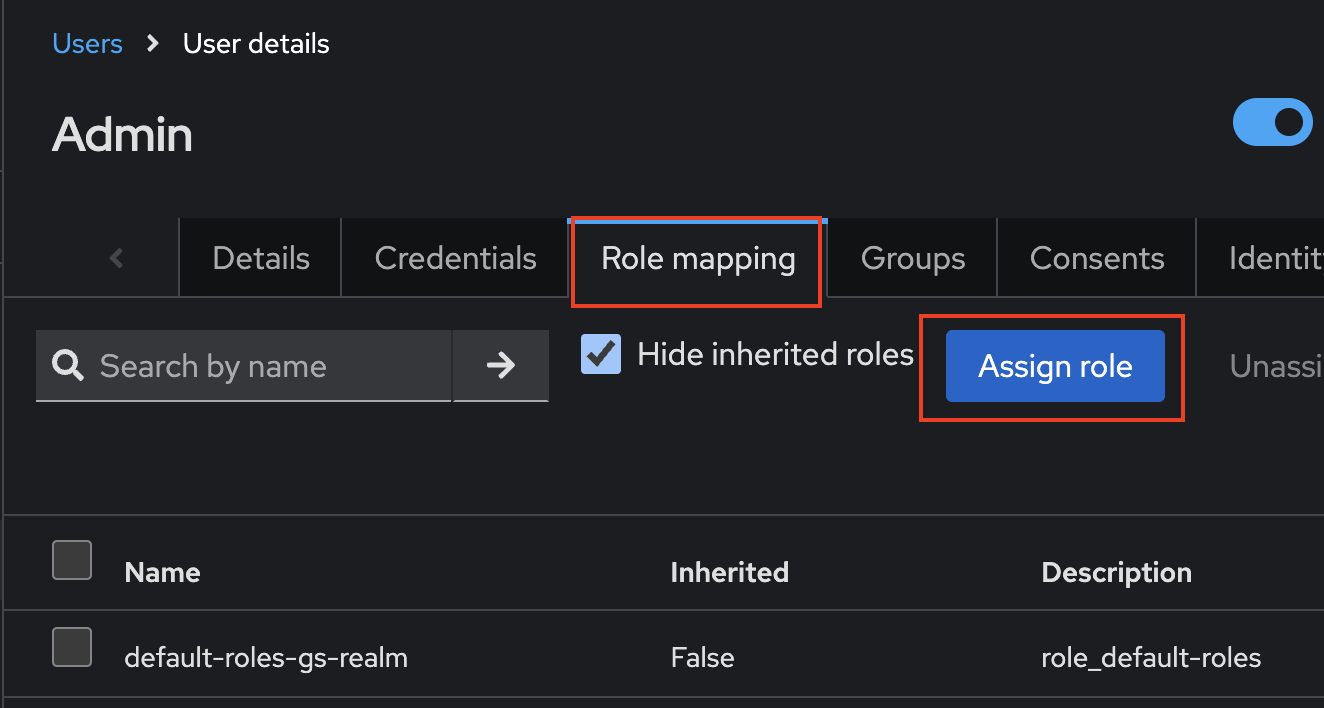
Press “Role mapping”
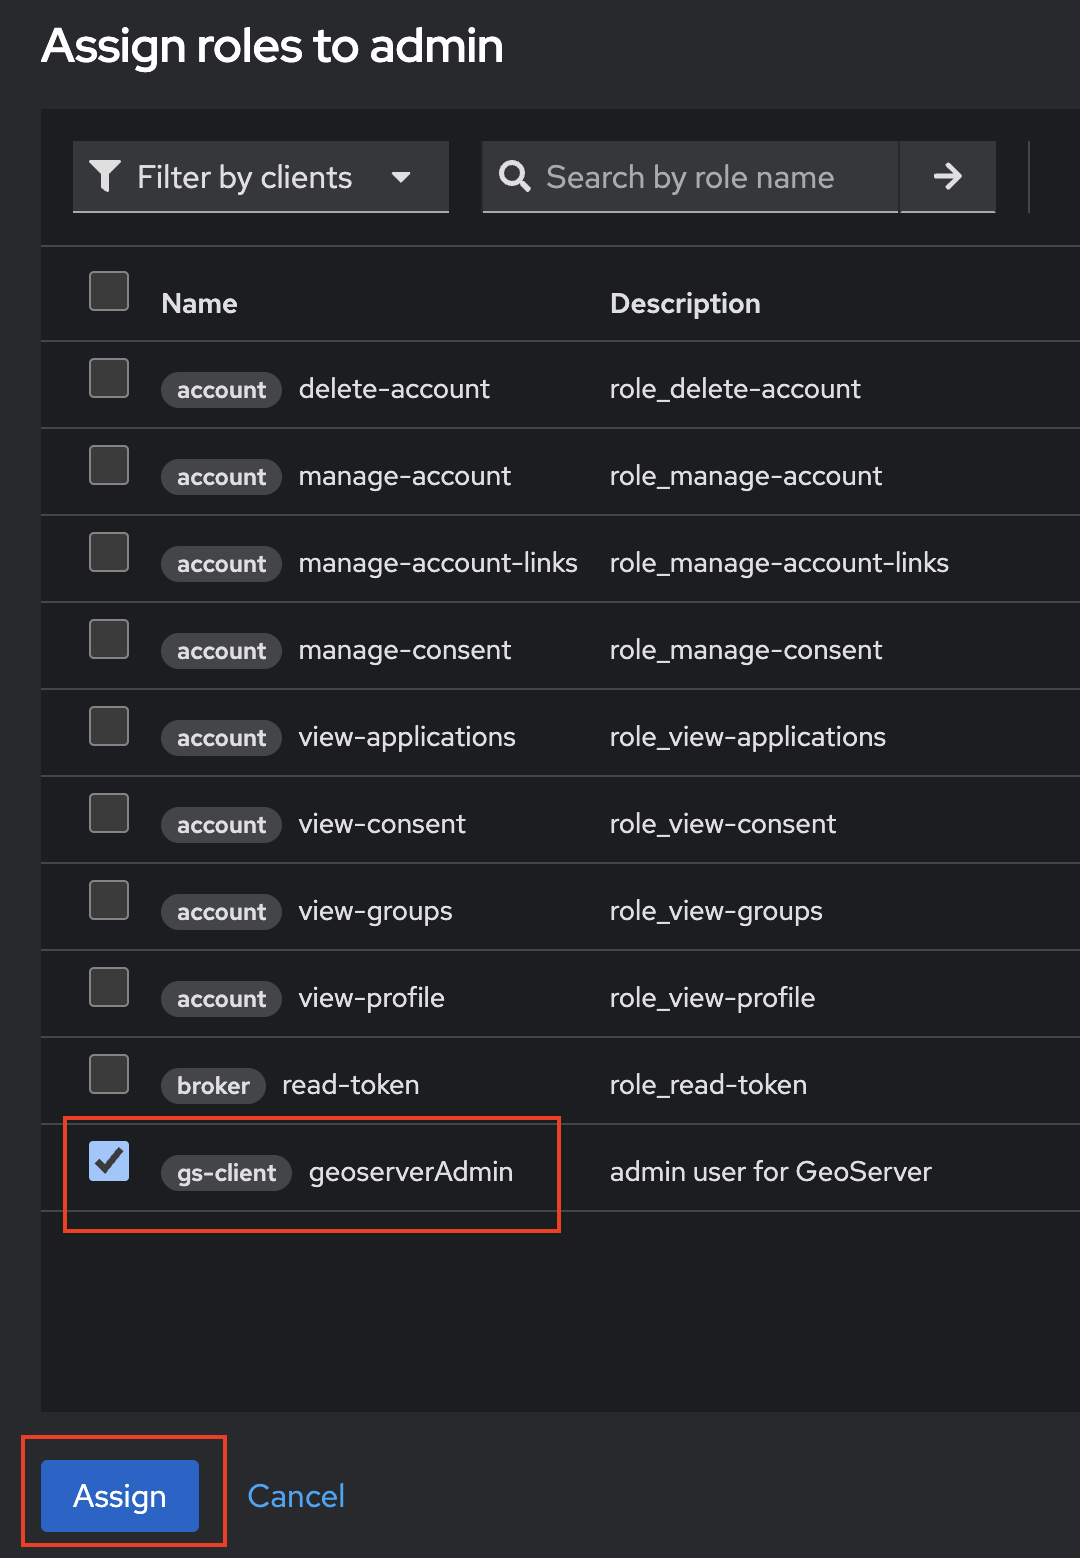
Press “Assign role” - you will get a pop-up
Check the “geoserverAdmin” role, and then press “Assign”
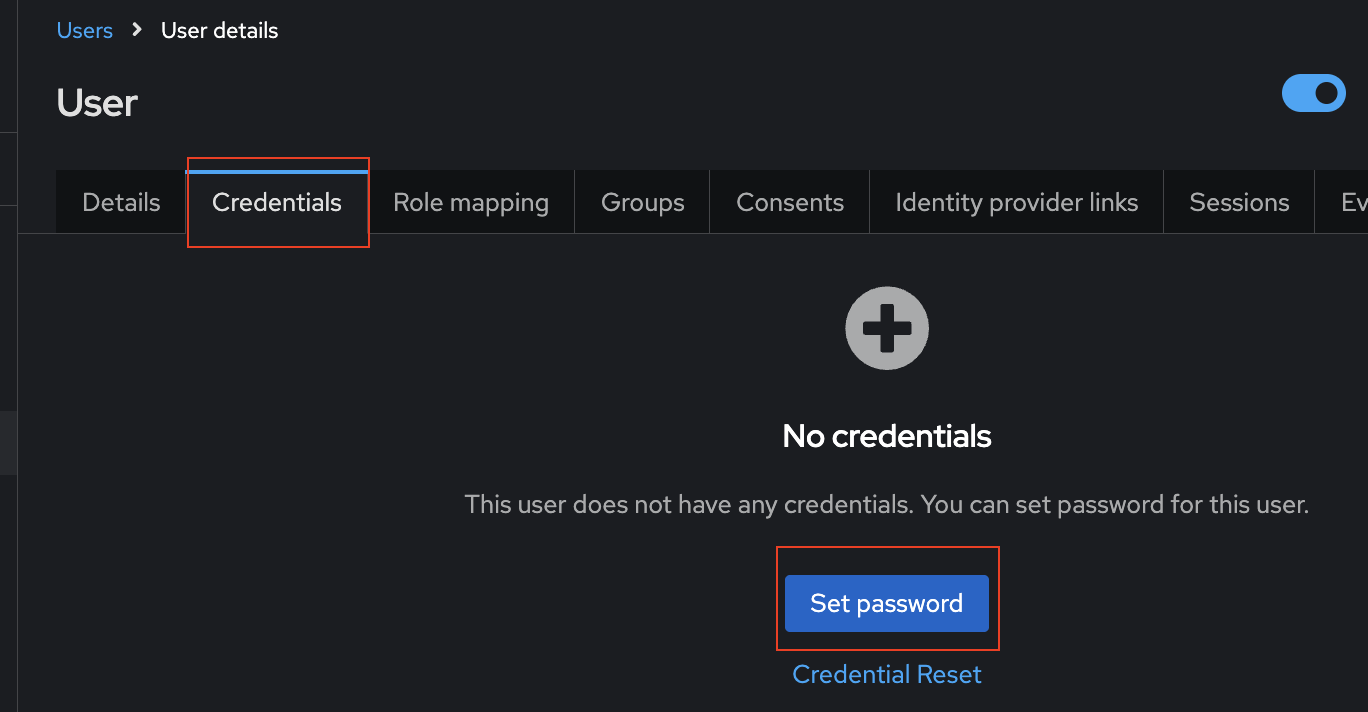
Go to the “Credentials” tab and Press “Set Password”
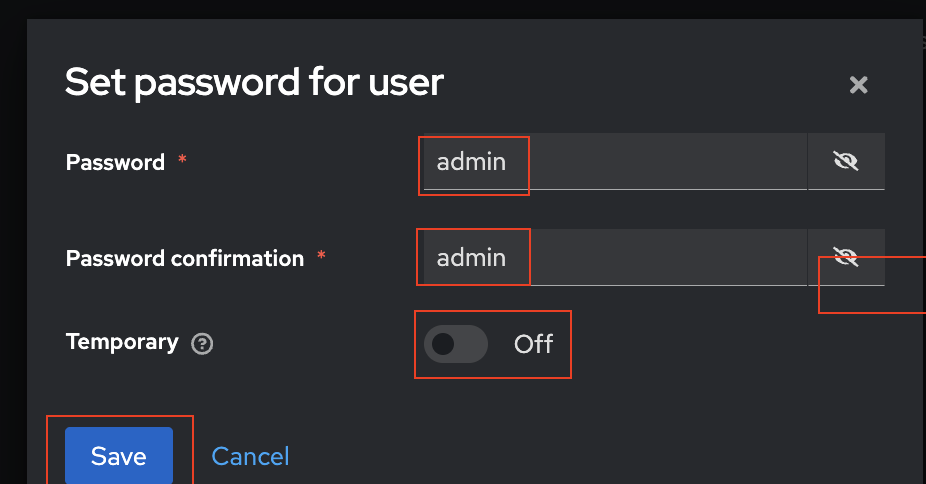
Fill in the Password as “admin” and set “Temporary” to “off”. Press “Save” and Confirm setting the password.
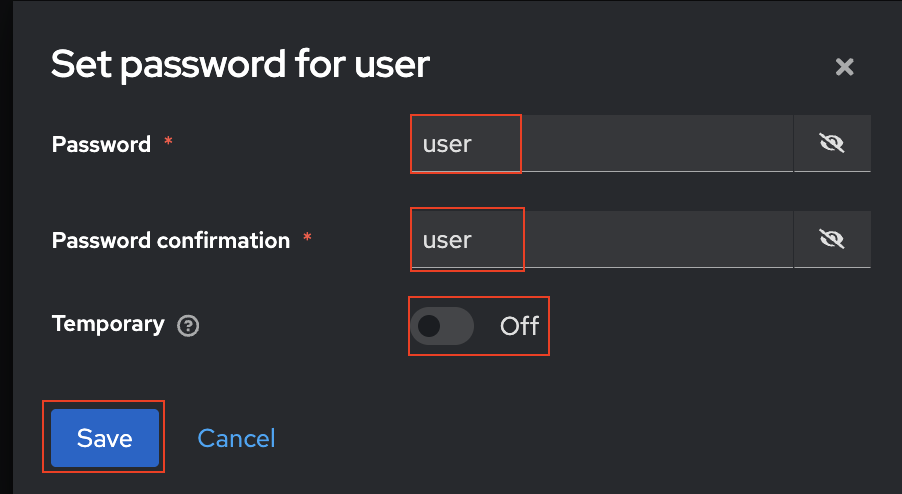
Do the same for the User “user”
Press “Users” (left column)
Select the “user” User
Press “Credentials”
Press “Set Password”
Fill in “user” as the password
Set “Temporary” to “off”
Press “Save” and Confirm setting the password.
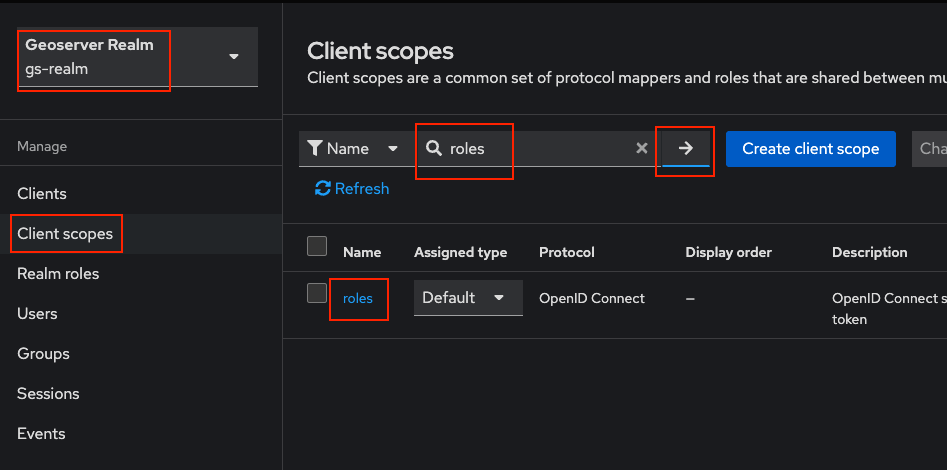
One the left column, choose “Client scope”. In the search box, enter “roles” and press the “->” search button. In the results, click on “roles”.
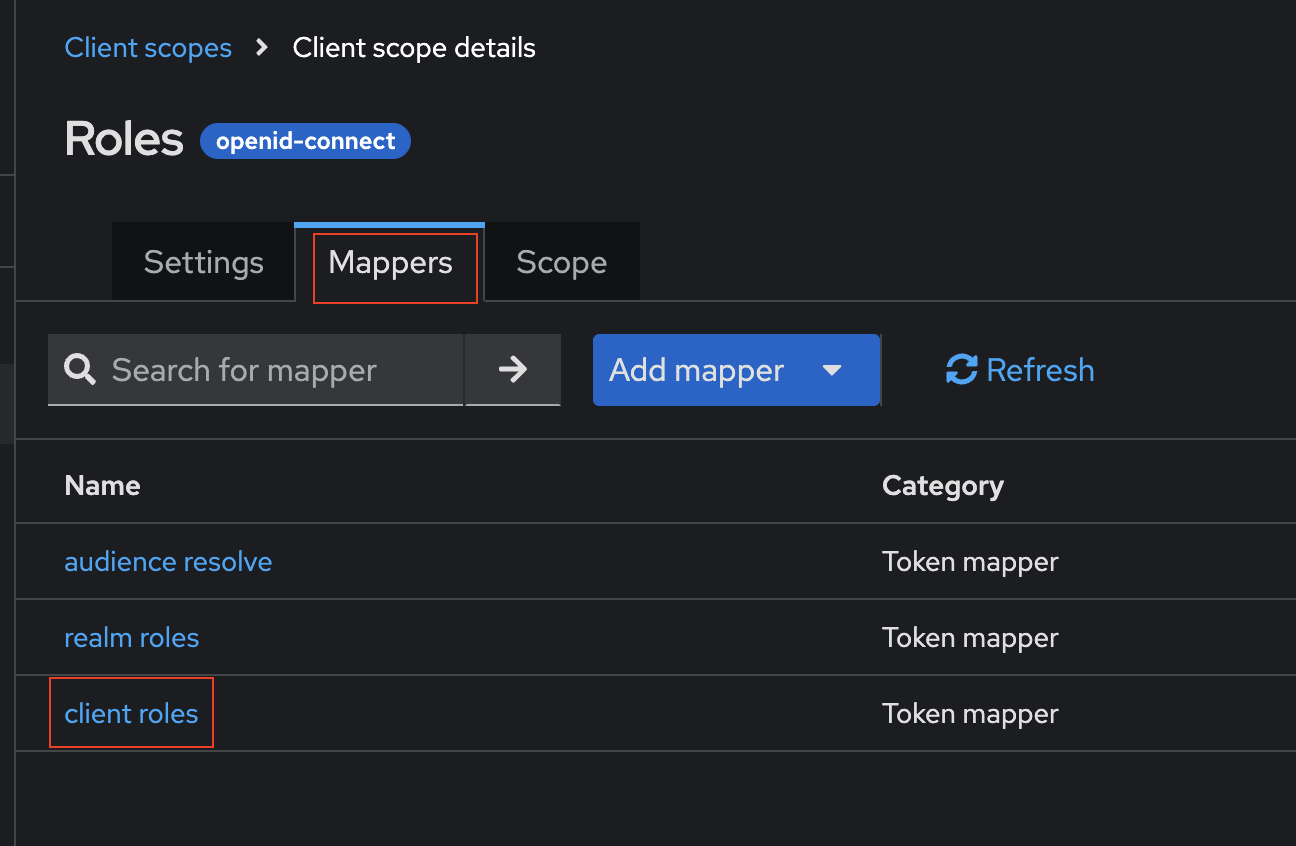
Click on “Mappers” (top), and then “client roles” (middle).
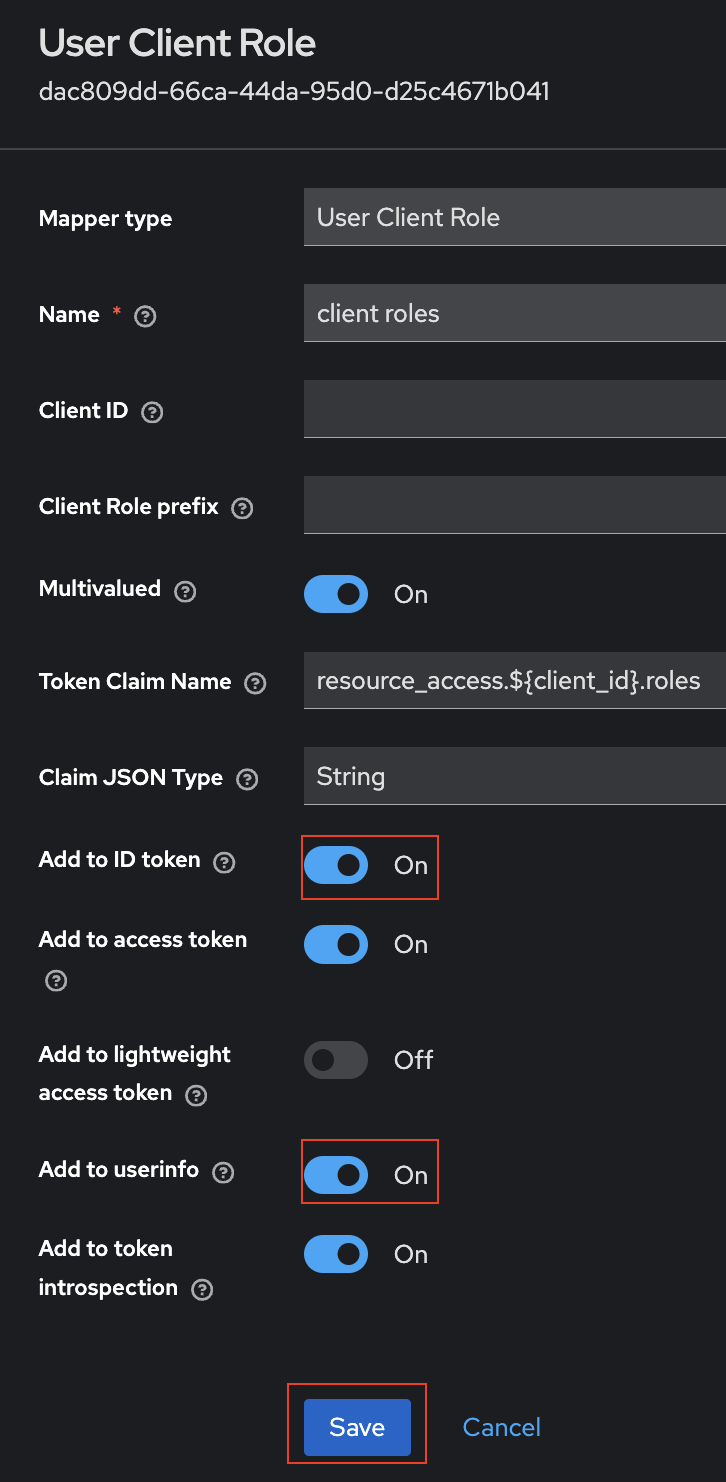
Turn on “Add to ID token” and “Add to userinfo”. Then press “Save”.
You have now created two users - “admin” and “user”. We then attached the “geoserverAdmin” role to the “admin” user. We also added the keycloak roles to the ID Token.
This is for technical people wanting to see the Access Token, ID Token, and User Info for a user.
Navigate to your Client (“gs-client”) in your Realm (“gs-realm”)
Make sure you are in the correct realm (“gs-realm”) in the top left corner
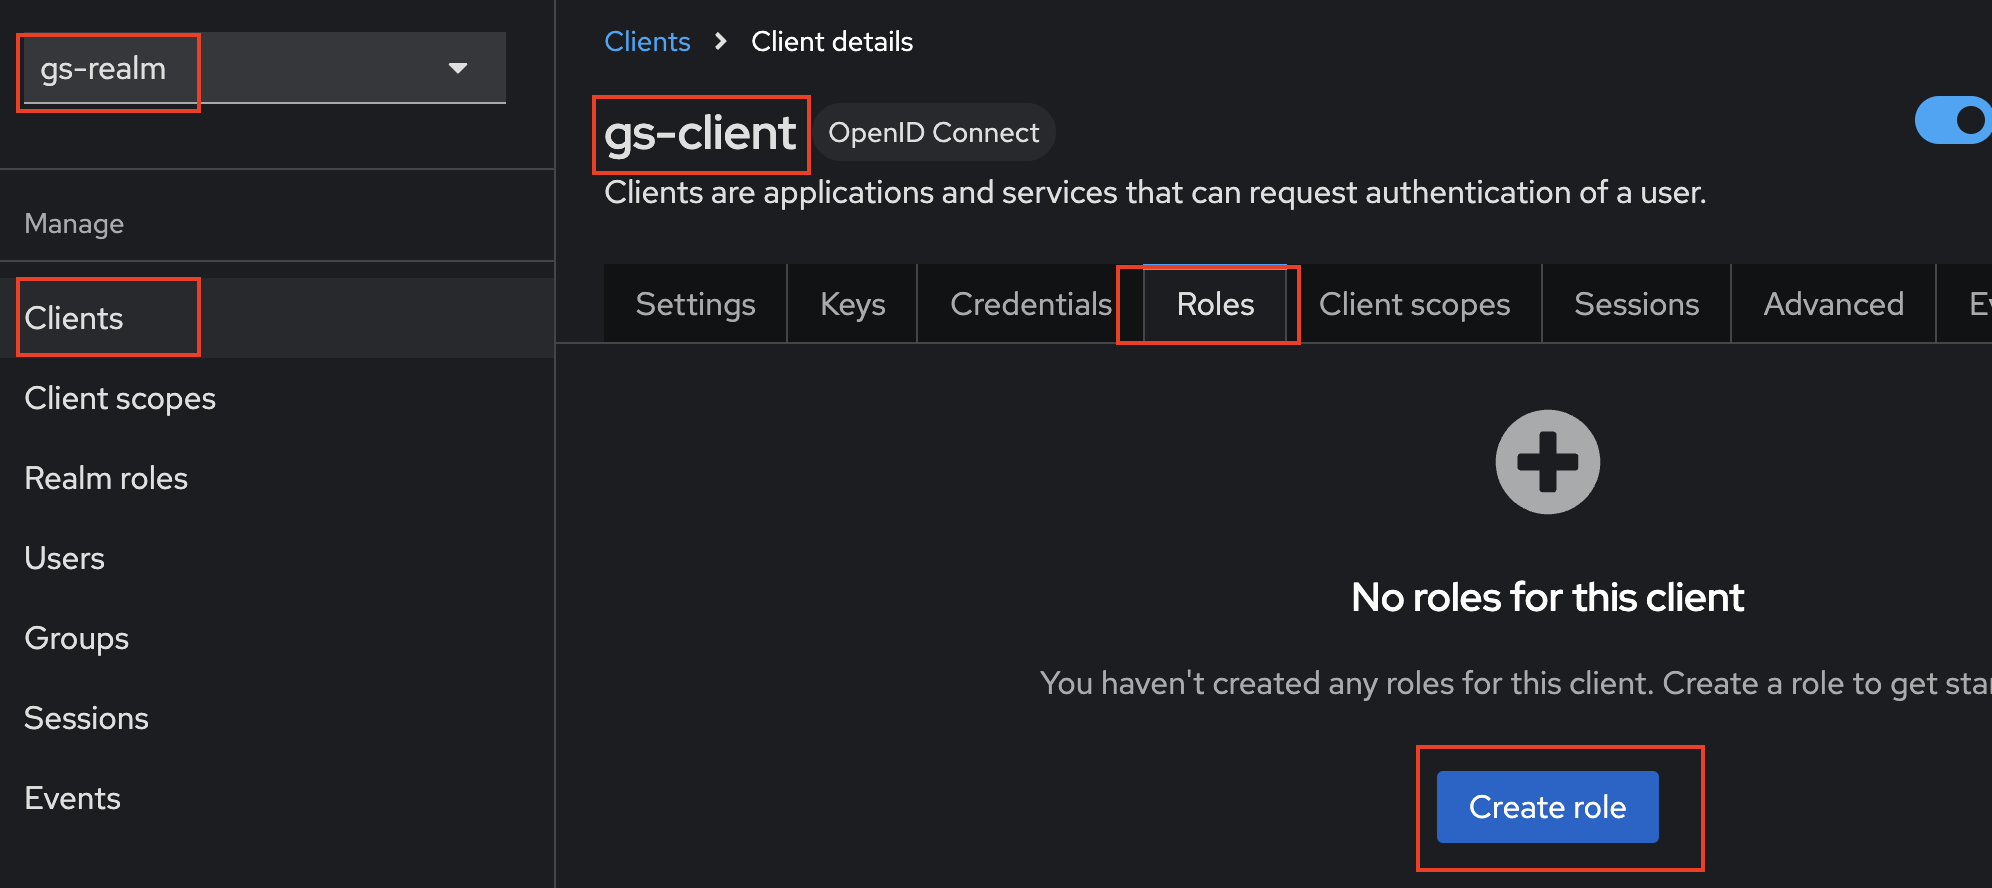
Click on “Clients” (left bar)
Choose your client (“gs-client”)
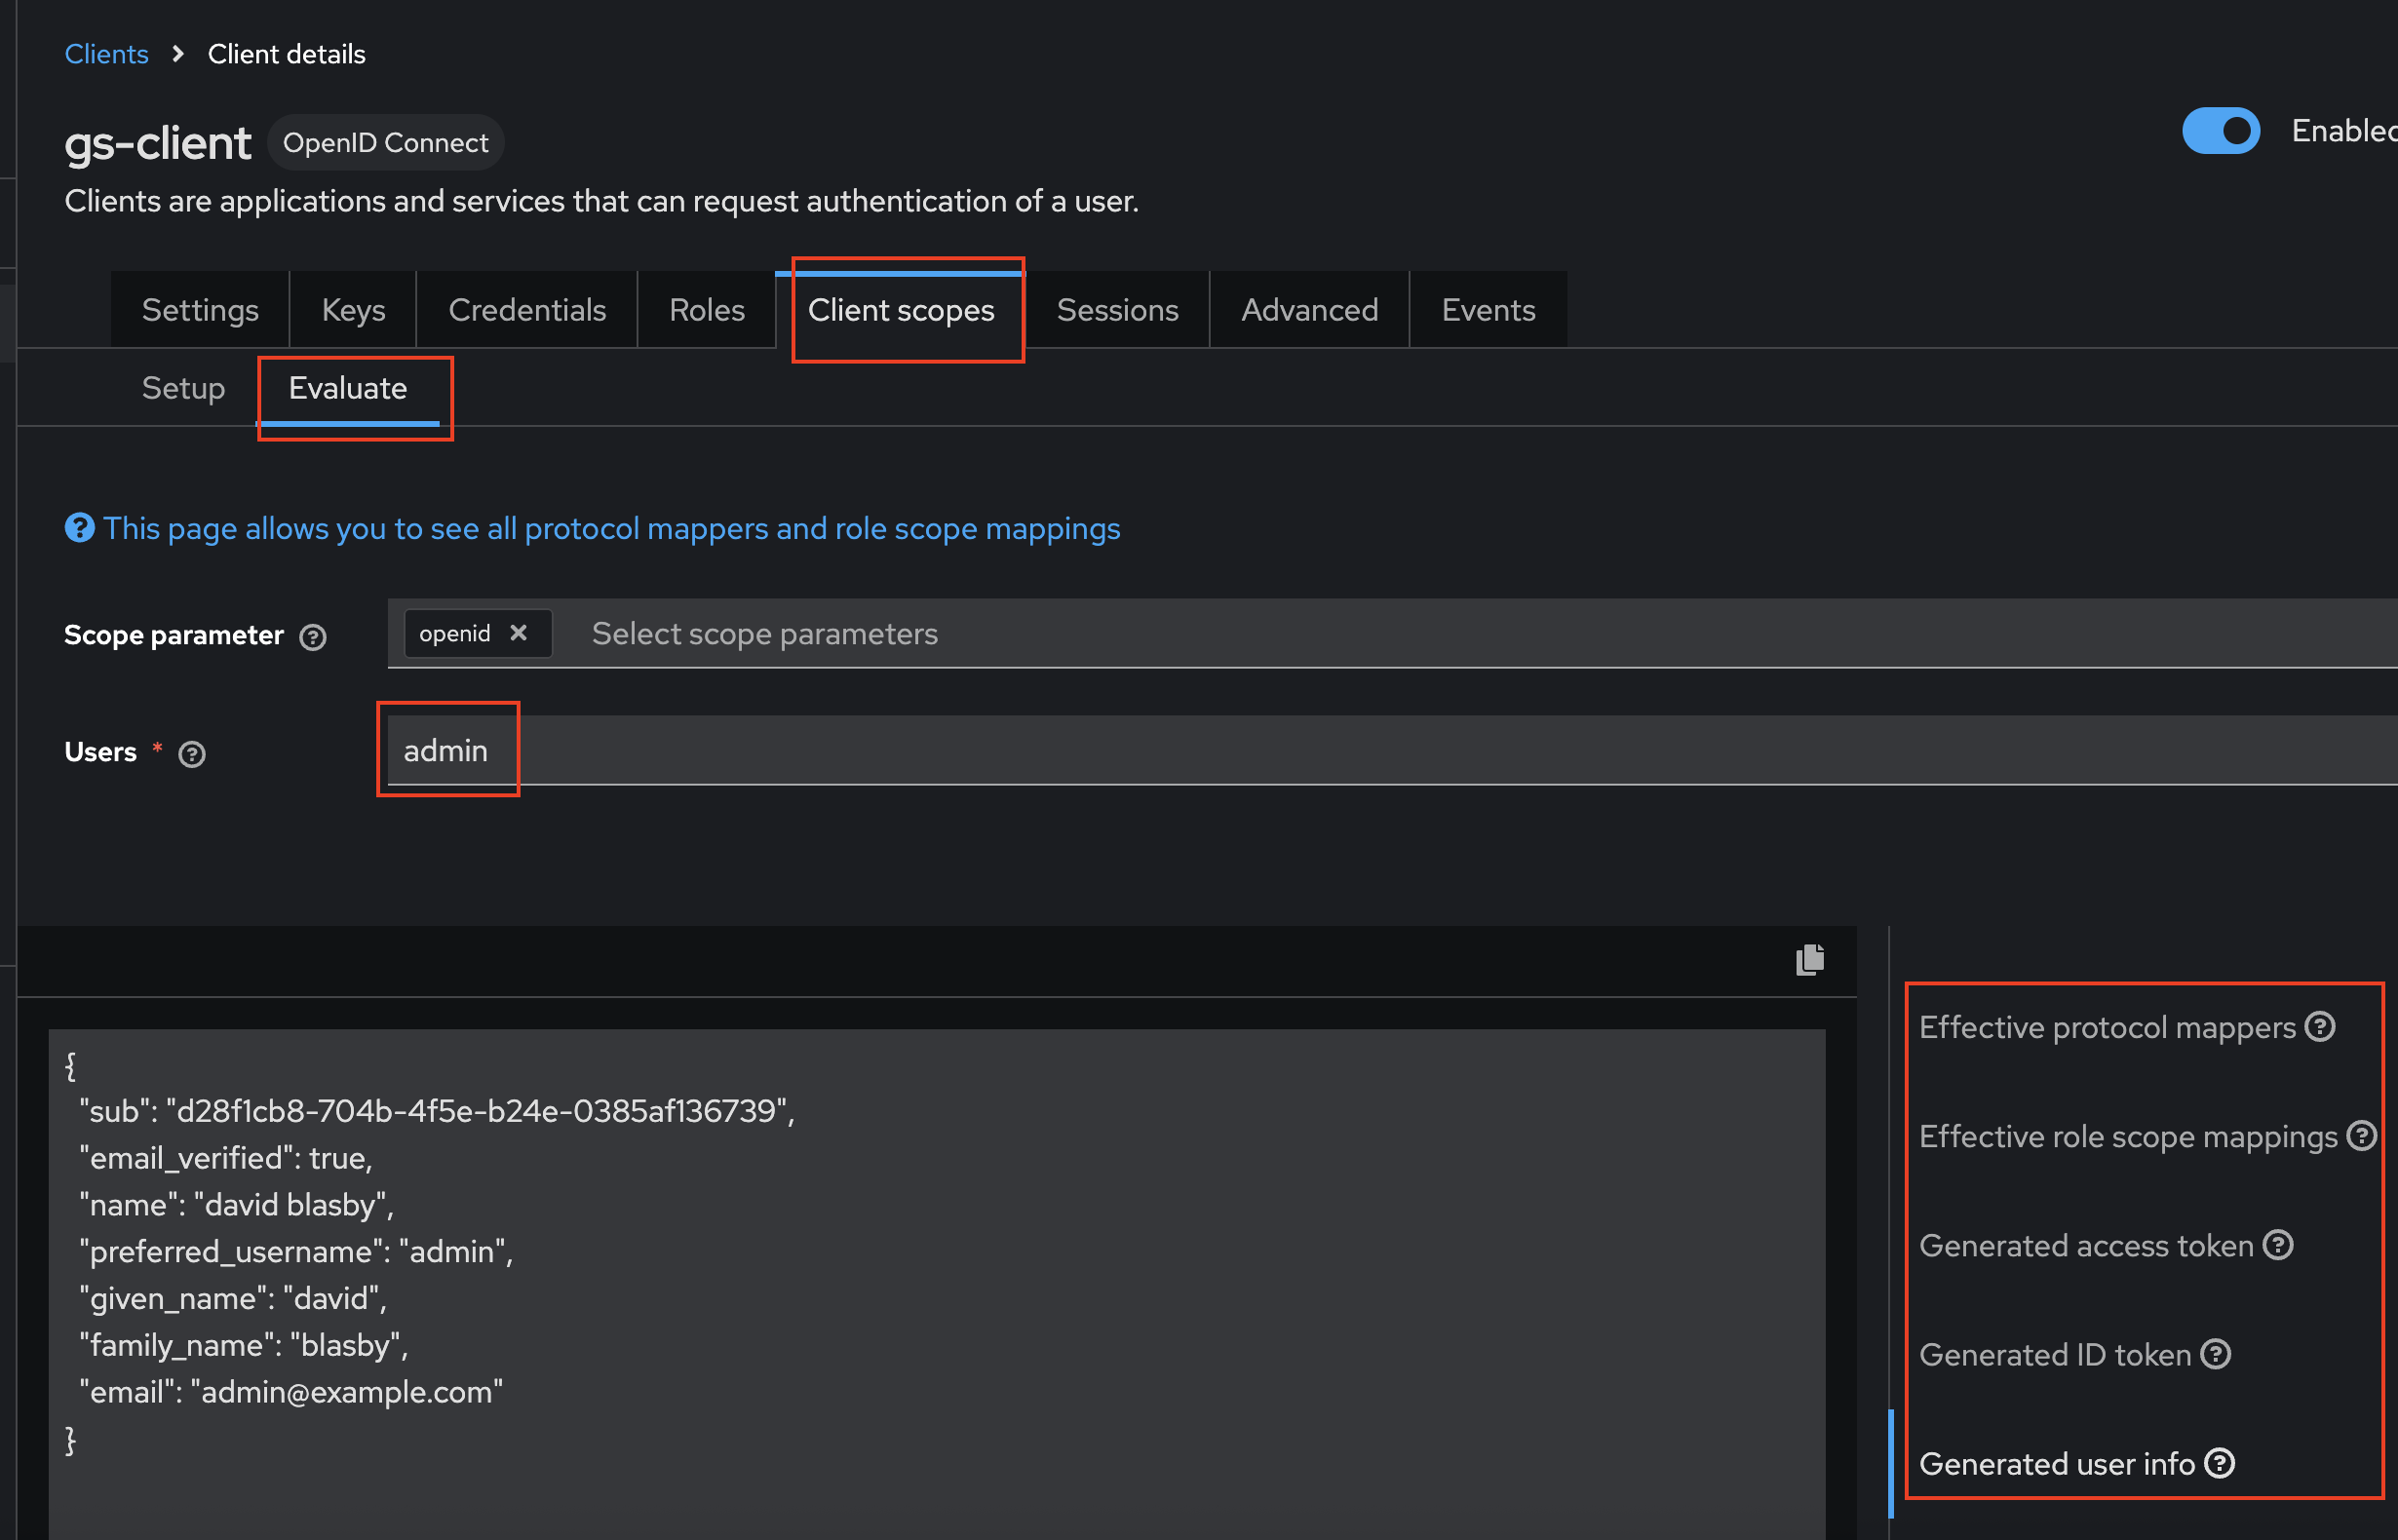
At the top, go to “Client Scopes”, then press “Evaluate” (near the top), then select a User. You must not just type in the user’s name, you must select it from the auto-complete pop-up!
In the bottom right, you can look at the Access Token, ID Token, and Userinfo JSON claims payloads.
Sample Access Token (yours will be slightly different):
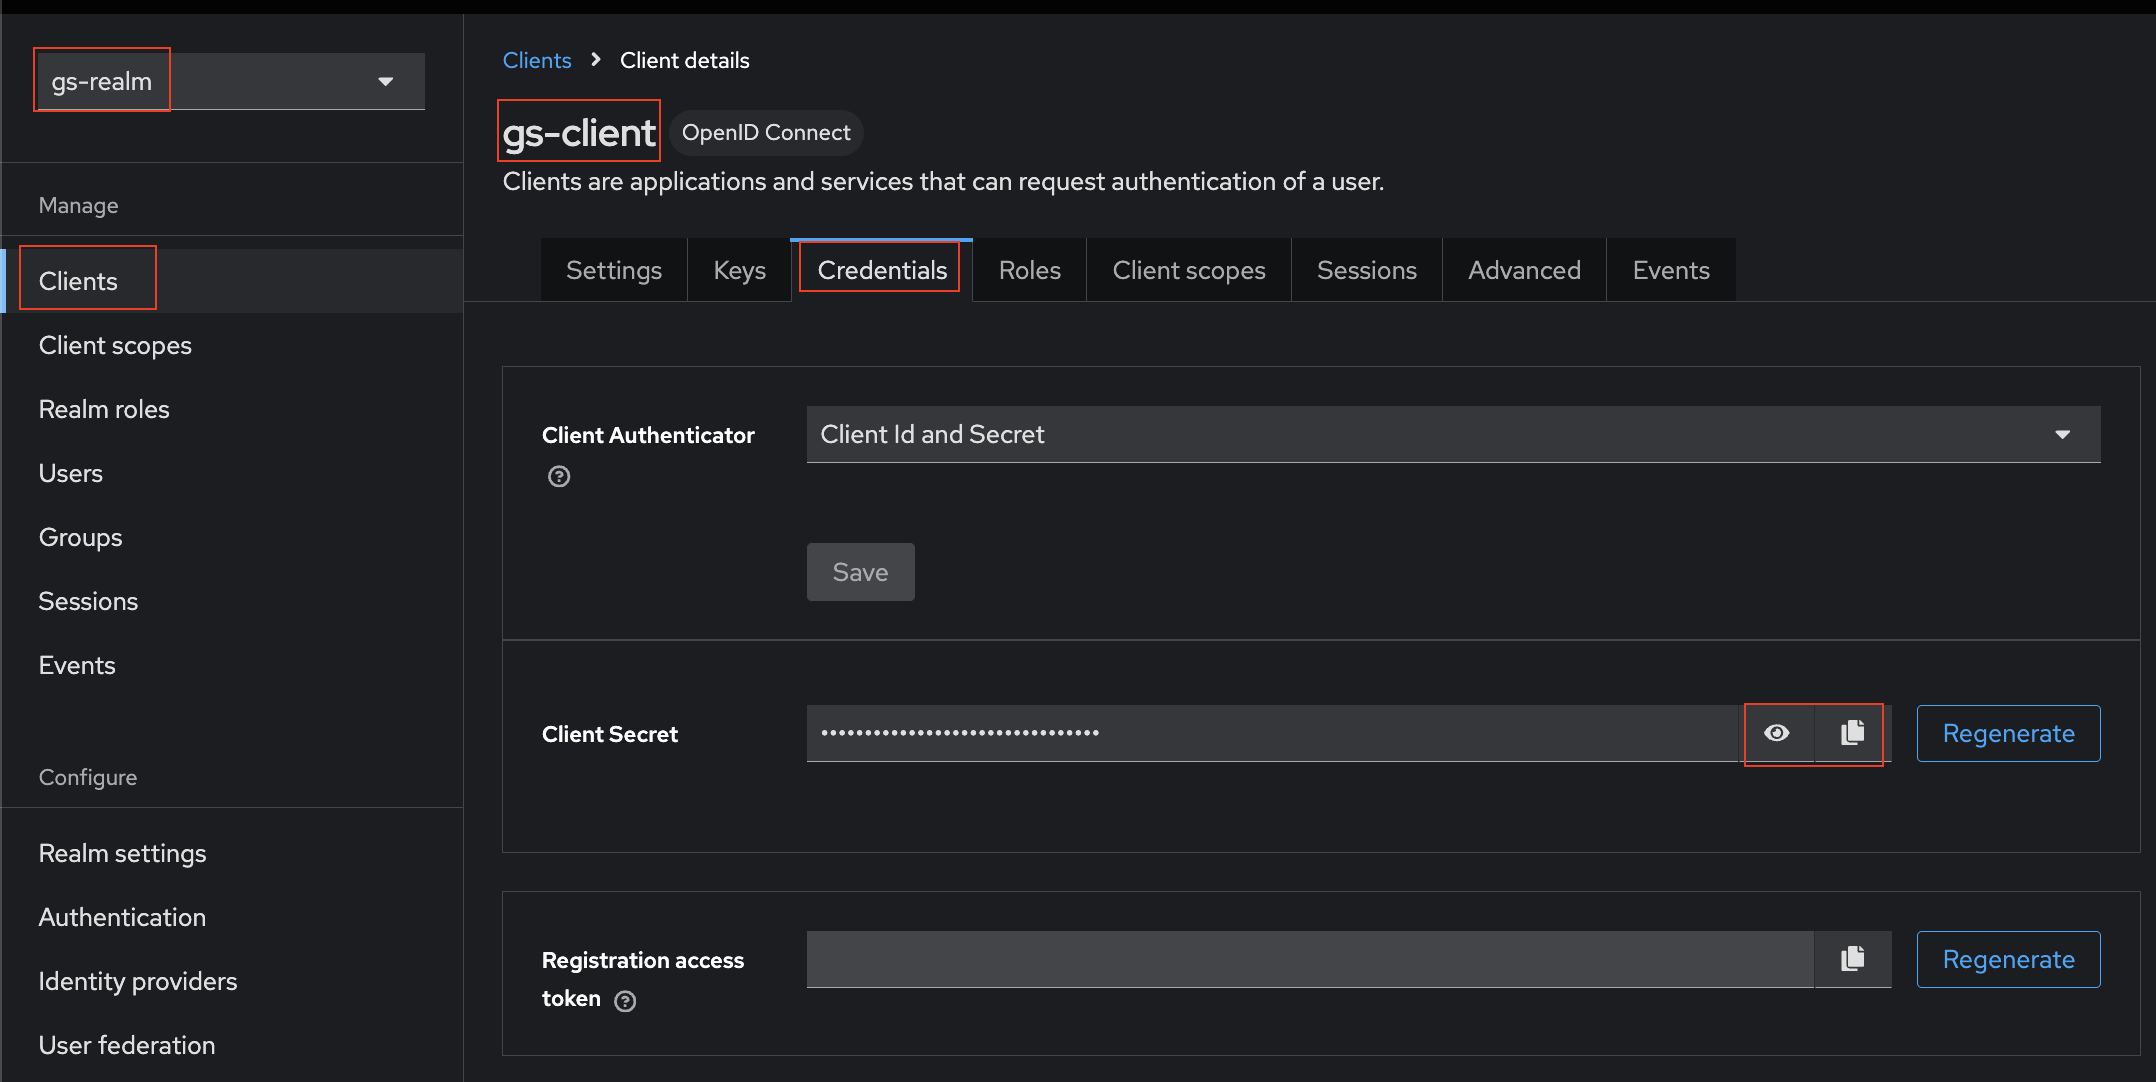
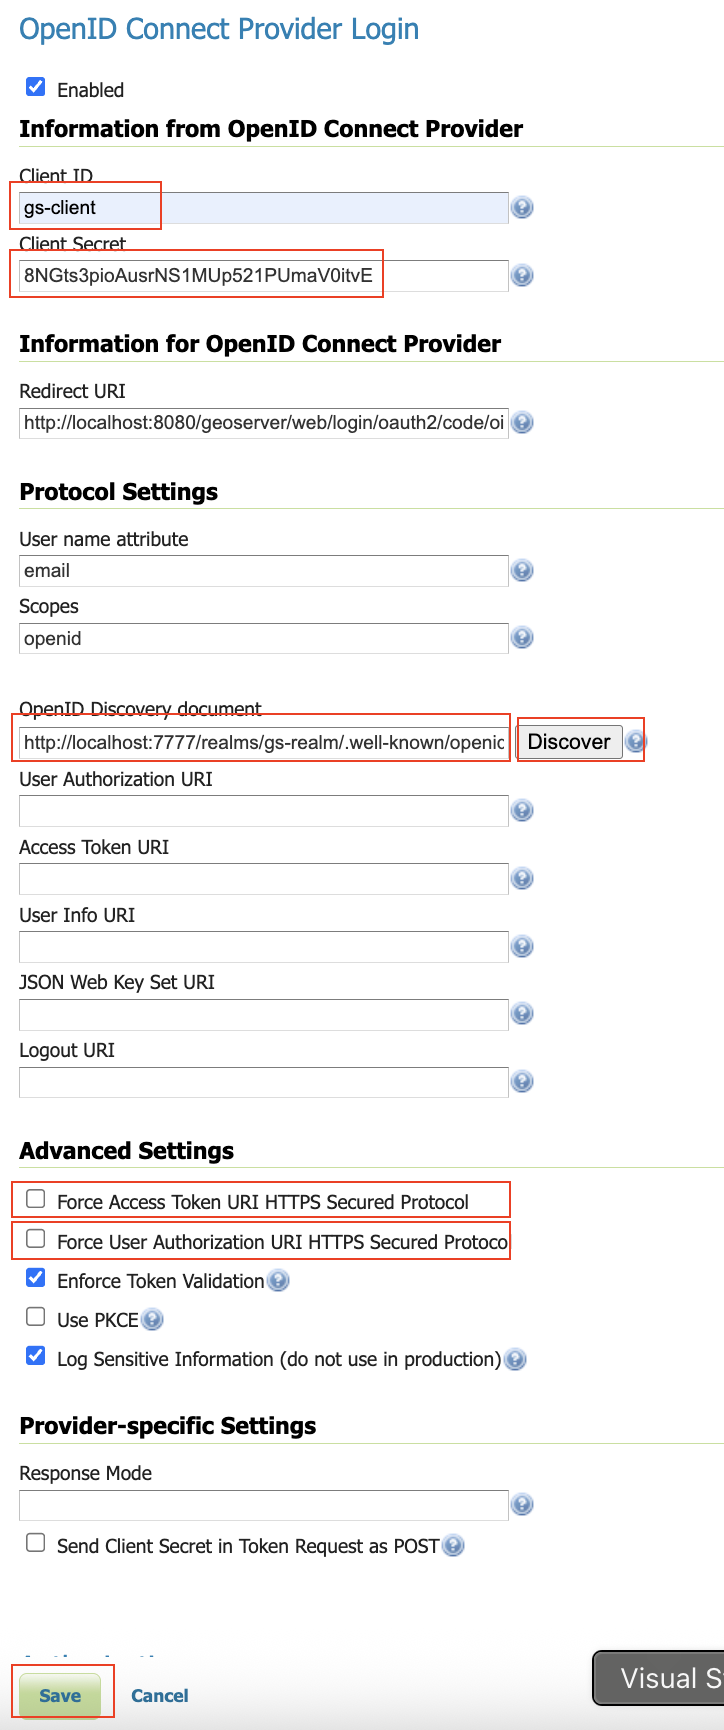
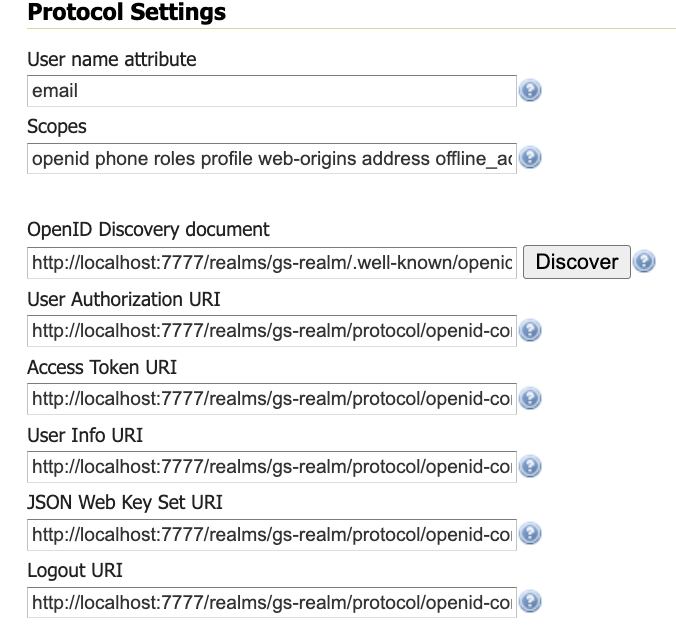
The next step is to configure your Keycloak as the OIDC IDP for GeoServer. You will need the Client Id (“gs-client”) and the Client Secret (see above).