Advanced Information
Troubleshooting
There are a lot of little problems that can occur - here are some troubleshooting tips.
Turn on GeoServer’s “VERBOSE_LOGGING” configuration
In your OIDC Security Filter, turn on “Log Sensitive Information (do not use in production)”
Open the developer tools for your Browser and look at the requests and see if any of them have error/warning message
If you can login, but don’t have the correct rights, ensure that your IDP is putting roles in its ID Token, Access Token, or userinfo
View the ID Token, Access Token, and userinfo that the IDP is generating. It maybe difficult to access these. Use JWT.io to decode your JWT tokens.
Look at the bottom and top of the GeoServer configuration screens - there might be an error message (in red)
Common mistakes:
Not putting the correct GeoServer callbacks in your IDP
Not putting the user roles in the IDP’s ID Token, Access Token, or userinfo
Setting the wrong “JSON path” to find the roles in the ID Token, Access Token, or userinfo
Not putting in a “Role Conversion” that maps your IDPs role name to GeoServer’s role name (especially “ROLE_ADMINISTRATOR”)
If you are still having issues, you might need to attach a Java debugger to GeoServer. The standard OIDC process is as follows:
User clicks on the “login” button in GeoServer and is redirected to the External OIDC IDP
This will rarely be problematic
If there is a problem, its most likely that:
GeoServer is configured with the wrong “User Authorization URI”
The IDP is not configured to allow “http://localhost:8080/geoserver/web/login/oauth2/code/oidc” as the redirect URL
User logs into the IDP (if this is problematic, consult your IDP’s administrator)
The user is then redirected back to GeoServer (http://localhost:8080/geoserver/web/login/oauth2/code/oidc) with an attached ?code=…. GeoServer will make a web request to the IDP to hand this “code” in for the Access/ID Token.
You should see this request in the Browser Network Logs (see your Browsers DevTools)
In the debugger, you can put a breakpoint in GeoServerOauth2AccessTokenResponseClient#getTokenResponse() to see this exchange
View the ID Token, Access Token, and userinfo. Use JWT.io to decode your JWT tokens.
The easiest way to see this is in GeoServerOAuth2RoleResolver#convert() (pParam)
Ensure that the roles are being correctly accessed
The easiest way to see this is in GeoServerOAuth2RoleResolver#convert()
Logging OAuth2 Activity
The plugin includes an OIDC_LOGGING profile which is installed on startup. This logging profile quiets most GeoServer logging activity, while enabling trace logging for OAuth2 functionality.
The module also includes an additional connection setting to include the token details as additional log messages. This is intended to assist in troubleshooting during development and initial setup.

Log sensitive information
This setting can obviously be used to access sensitive information, and you are advised to clear logs after use.
To setup for troubleshooting OIDC activity:
Navigate to
Select the logging profile
OIDC_LOGGINGNavigate
Setup your OAuth2 OpenID Connect configuration with Log Sensitive Information (do not use in production) checked
With these settings each individual step of the OAuth2 authentication is shown. The logging sensitive information setting logs access token and id token (the contents of these tokens may be decoded using https://jwt.io).
DEBUG  [security.oauth2] - OIDC: - CLIENT_SECRET: squirrel
DEBUG  [security.oauth2] - OIDC: received a CODE from Identity Provider - handing it in for ID/Access Token
DEBUG  [security.oauth2] - OIDC: CODE=...
DEBUG  [security.oauth2] - OIDC: Identity Provider returned Token, type=Bearer
DEBUG  [security.oauth2] - OIDC: SCOPES=openid geocat
DEBUG  [security.oauth2] - OIDC: ACCESS TOKEN: ....
DEBUG  [security.oauth2] - OIDC: ID  TOKEN: ...
DEBUG  [security.oauth2] - OIDC: Getting Roles from UserGroupService, location=null
DEBUG  [security.oauth2] - OIDC: Geoserver Roles: ADMIN
DEBUG  [security.oauth2] - OIDC: Geoserver Roles: ROLE_ADMINISTRATOR
Proof Key of Code Exchange (PKCE)
The OpenID Connect plugin allows the use of Proof Key of Code Exchange (PKCE).

Proof Key of Code Exchange
The setup process is as follows:
Setup your OAuth2 OpenID Connect configuration as normal
On the OpenID Connect configuration screen (bottom), makes sure “Use PKCE” is checked
To prevent client side request forgery:
Step 1: GeoServer will include a
code_challengeduring initial authorization code requestStep 2: GeoServer will include a
code_veriferduring the access token request.The authentication server will confirm that
code_verifierhash matches the initialcode_challengein order the confirm the client is the same as in Step 1.
Log output of this exchange is as follows:
DEBUG  [oauth2.pkce] - Generate code_verifier: yQat4Y.....
DEBUG  [oauth2.pkce] - CODE_CHALLENGE: 5HiD...
DEBUG  [oauth2.pkce] - CODE_CHALLENGE_METHOD: S256
DEBUG  [oauth2.pkce] - CLIENT_SECRET: squirrel
DEBUG  [oauth2.pkce] - CODE_VERIFIER: yQat4Y...
Reference:
JSON Web Key set URI
The JSON Web Key set URI provides the location of a document of public keys that can be used to check the signature of the provided accessToken.
Optional: It is no longer required to use Check Token Endpoint URL - if you leave that field blank you may rely only on the JSON Web Key set URI signature check. When use in this manner roles cannot be extracted from access token.
Enforce Token Validation
True by default.
Check this option to enforce the validation of the token signature.
Per the RFC 7517 or this doc from auth0, the parameters does not include neither public_key_use (but use nor key_id (but kid)
The RFC specifies that kid is optional (RFC 7517: JSON Web Key (JWK)) Use of this member is OPTIONAL.
Reference:
Opaque tokens supports
The OpenID Connect plugin allows the use of opaque tokens. These tokens have a payload that cannot be read by the client, and are validated by the authorization server.
When the UI login path is used, the token is provided by the authorisation server and it’s not subject to extra validation. Roles cannot be read from it, due to its opaque nature the payload cannot be decrypted, but roles can be read using the userinfo endpoint instead (if the authorization server supports it, and it’s configured).
When the Bearer Token path is used, the opaque token is provided by the client gets validated against the authorization server on the introspection endpoint, which must be configured. The roles are again read from the userinfo endpoint.
Authentication caching
The OpenId connect support can make a lot of requests to the OIDC server.
In a scenario where bearer encrypted tokens are used, in encrypted form, and with roles extraction from the userinfo endpoint, a WMS client sending tokens for each request will trigger the following requests to the OIDC server:
The bearer token is used against the
tokenendpoint for username extractionThen it’s used against the
instrospectionendpoint for validation (which also contains the exp attribute, see later)It’s finally used against the
userinfoto extract the roles
With clients performing many small tiled requests, the traffic to the OIDC server may becomes excessive.
However, tokens have an exp attribute, a UNIX epoch indicating the token’s expiry.
The cache authentication setting makes GeoServer cache the authentication against that token
until expiration to reduce traffic.
SSL Trusted Certificates
When using a custom Keystore or trying to access a non-trusted or self-signed SSL-protected OAuth2 Provider from a non-SSH connection, you will need to add the certificates to the JVM Keystore.
In order to do this you can follow the next steps:
In this example we are going to
Retrieve SSL certificates from Google domains:
“Access Token URI” = https://accounts.google.com/o/oauth2/token therefore we need to trust
https://accounts.google.comor (accounts.google.com:443) “Check Token Endpoint URL” = https://www.googleapis.com/oauth2/v1/tokeninfo therefore we need to trusthttps://www.googleapis.comor (www.googleapis.com:443)Note
You will need to get and trust certificates from every different HTTPS URL used on OAuth2 Endpoints.
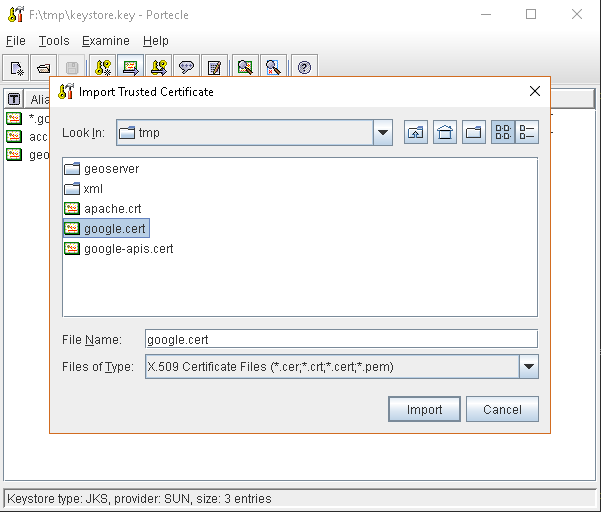
Store SSL Certificates on local hard disk
Add SSL Certificates to the Java Keystore
Enable the JVM to check for SSL Certificates from the Keystore
Retrieve the SSL Certificates from Google domains
Use the
opensslcommand in order to dump the certificateFor
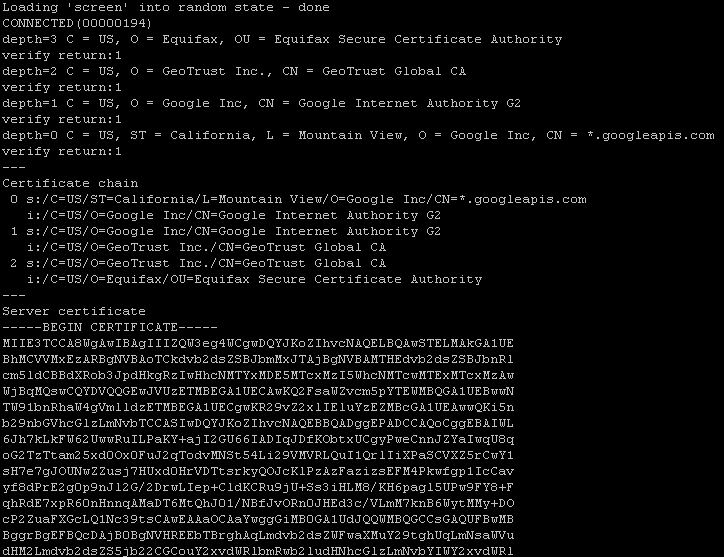
https://accounts.google.comopenssl s_client -connect accounts.google.com:443
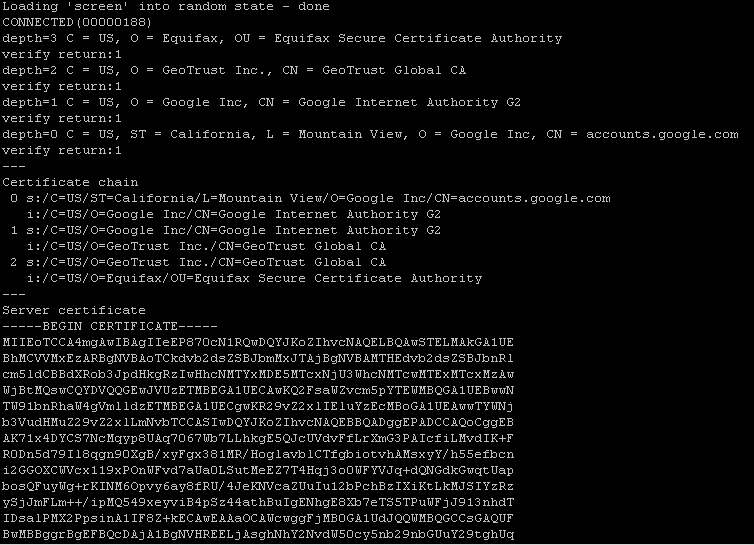
And for
https://www.googleapis.comopenssl s_client -connect www.googleapis.com:443
Store SSL Certificates on local hard disk
Copy-and-paste the two sections
-BEGIN CERTIFICATE-,-END CERTIFICATE-and save them into two different.certfilesNote
.certfile are plain text files containing the ASCII characters included on the-BEGIN CERTIFICATE-,-END CERTIFICATE-sectionsgoogle.cert(or whatever name you want with.certextension)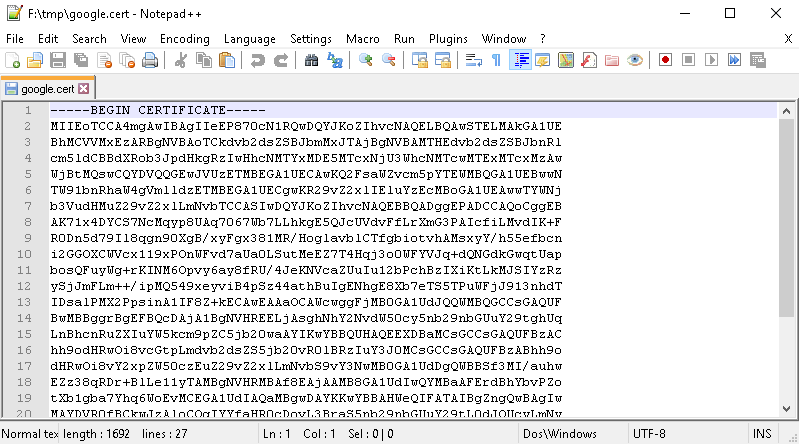
google-apis.cert(or whatever name you want with.certextension)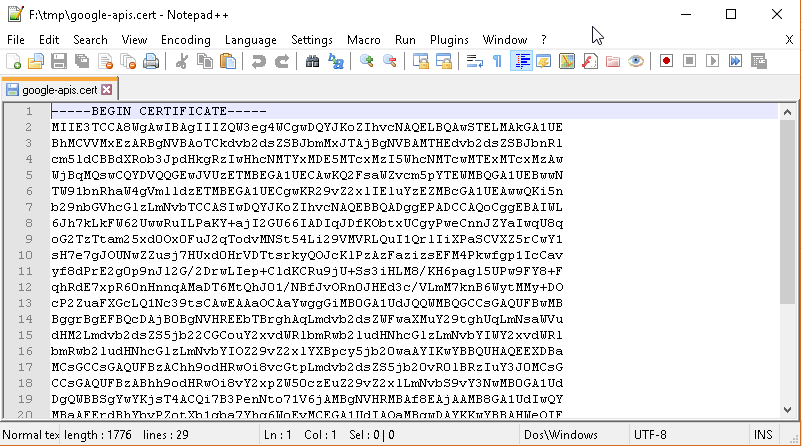
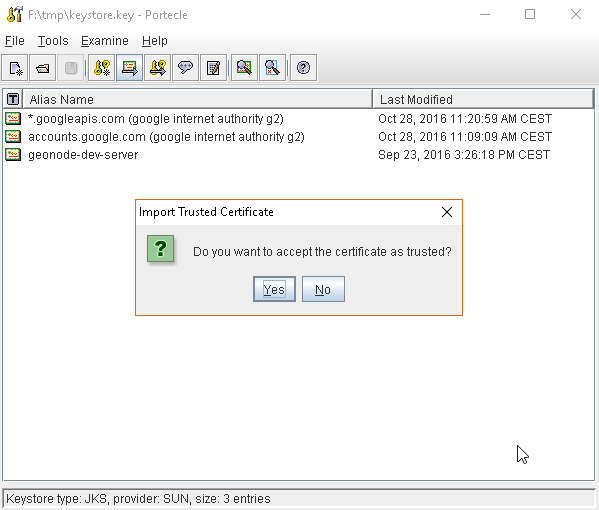
Add SSL Certificates to the Java Keystore
You can use the Java command
keytoollike thisgoogle.cert(or whatever name you want with.certextension)keytool -import -noprompt -trustcacerts -alias google -file google.cert -keystore ${KEYSTOREFILE} -storepass ${KEYSTOREPASS}
google-apis.cert(or whatever name you want with.certextension)keytool -import -noprompt -trustcacerts -alias google-apis -file google-apis.cert -keystore ${KEYSTOREFILE} -storepass ${KEYSTOREPASS}
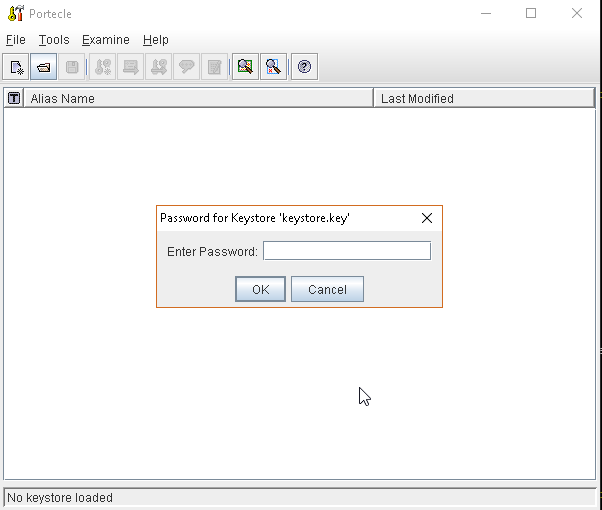
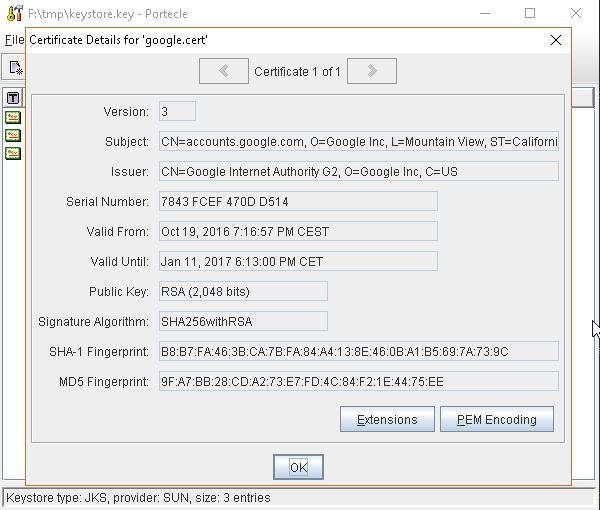
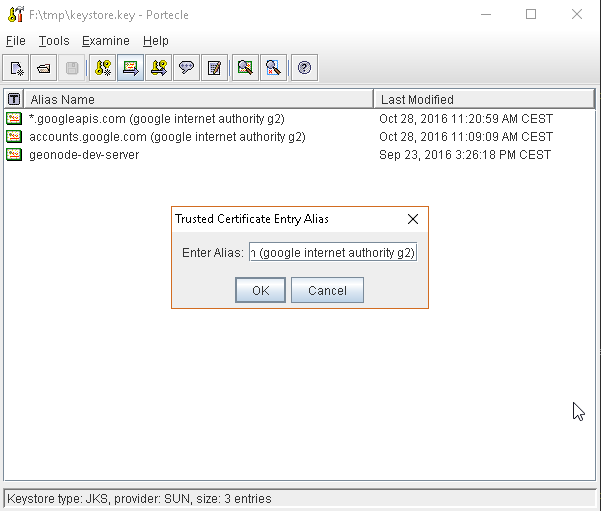
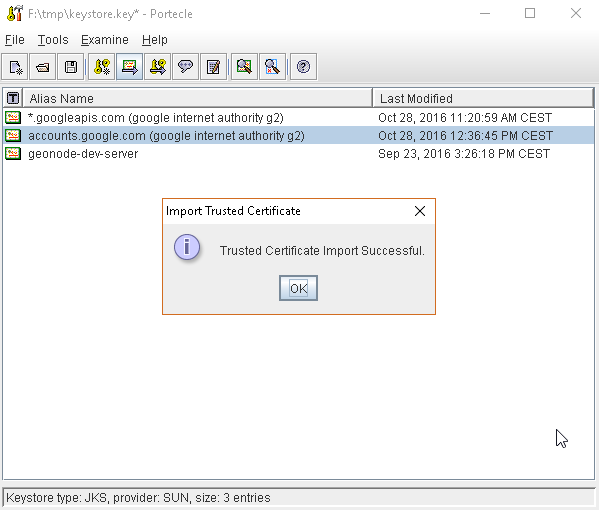
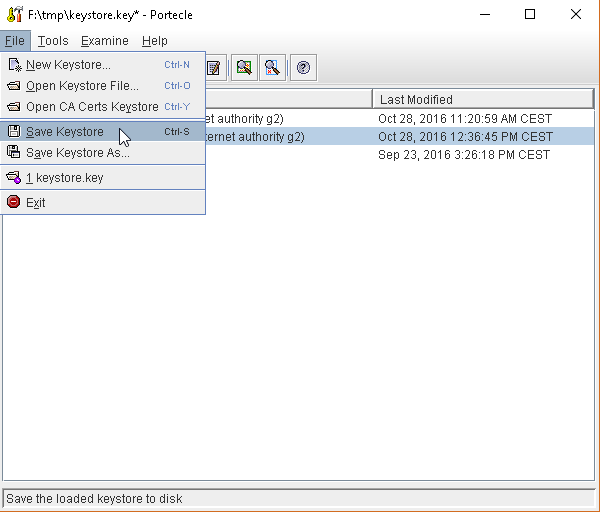
or, alternatively, you can use some graphic tool which helps you managing the SSL Certificates and Keystores, like Portecle
java -jar c:\apps\portecle-1.9\portecle.jar


Enable the JVM to check for SSL Certificates from the Keystore
In order to do this, you need to pass a
JAVA_OPTIONto your JVM:-Djavax.net.ssl.trustStore=F:\tmp\keystore.key
Restart your server
Note
Here below you can find a bash script which simplifies the Keystore SSL Certificates importing. Use it at your convenience.
HOST=myhost.example.com
PORT=443
KEYSTOREFILE=dest_keystore
KEYSTOREPASS=changeme

# get the SSL certificate
openssl s_client -connect ${HOST}:${PORT} </dev/null \
    | sed -ne '/-BEGIN CERTIFICATE-/,/-END CERTIFICATE-/p' > ${HOST}.cert

# create a keystore and import certificate
keytool -import -noprompt -trustcacerts \
    -alias ${HOST} -file ${HOST}.cert \
    -keystore ${KEYSTOREFILE} -storepass ${KEYSTOREPASS}

# verify we've got it.
keytool -list -v -keystore ${KEYSTOREFILE} -storepass ${KEYSTOREPASS} -alias ${HOST}