IntelliJ QuickStart
Check out source code
Check out the source code from the git repository.:
git clone https://github.com/geoserver/geoserver.git geoserver
To list the available branches.:
% git branch
   2.21.x
   2.22.x
 * main
Choose main for the latest development.:
% git checkout main
Or choose a stable branch for versions less likely to change often:
% git checkout 2.22.x
In this example we will assume that your source code is in a directory called geoserver, but a more descriptive name is generally recommended.
Import modules into IntelliJ
Run the IntelliJ IDE
From the initial panel select
Open.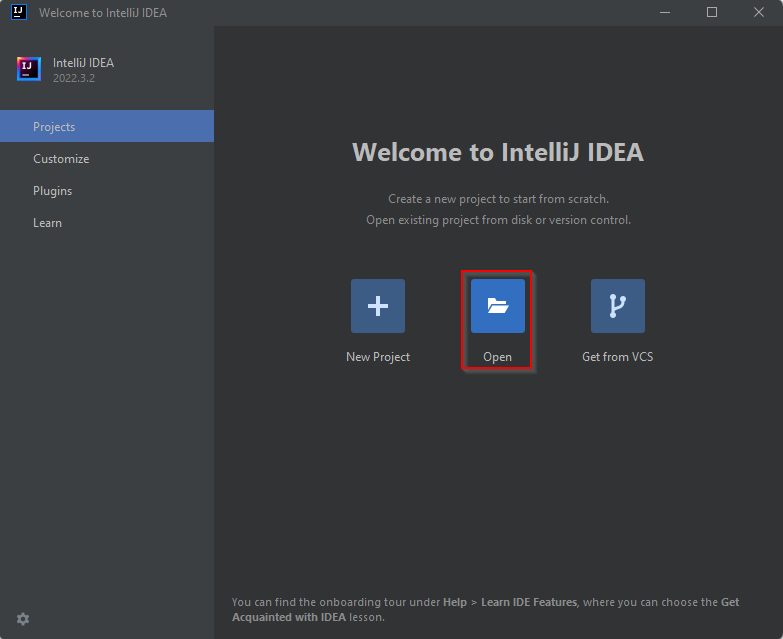
Navigate to the
geoserver/src/pom.xmldirectory and clickOK.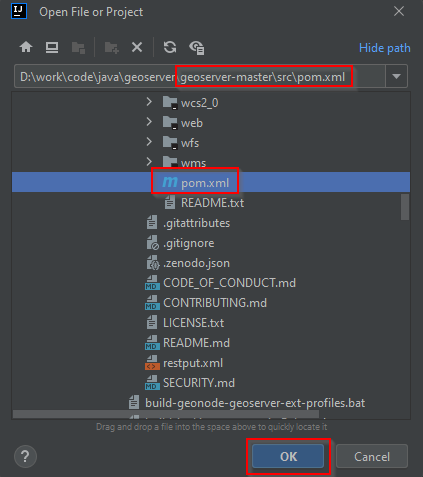
When asked click on
Open as a Project.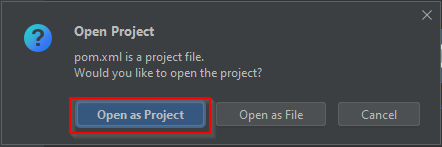
Optionally, depending on which platform, IntelliJ may ask to
Trust the Project.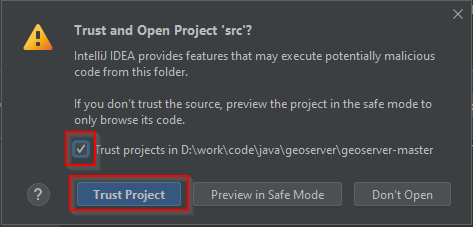
Wait for IntelliJ to
Syncthe dependencies, it’s possible to follow the process from theBuildtab panel on the bottom.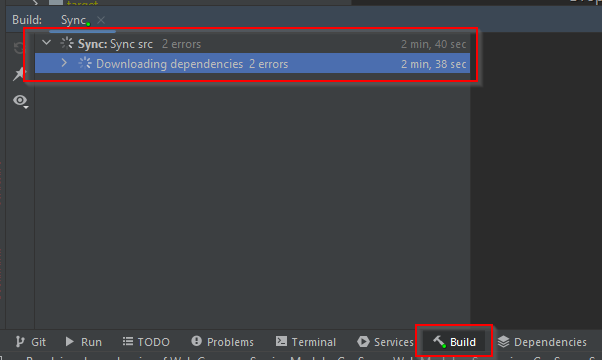
Finalize the GeoServer Project configuration
Click
File > Project Structure.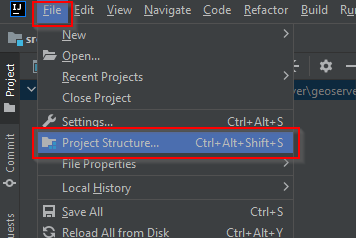
Update the
Nameand select the correctSDKaccordingly to the GeoServer version.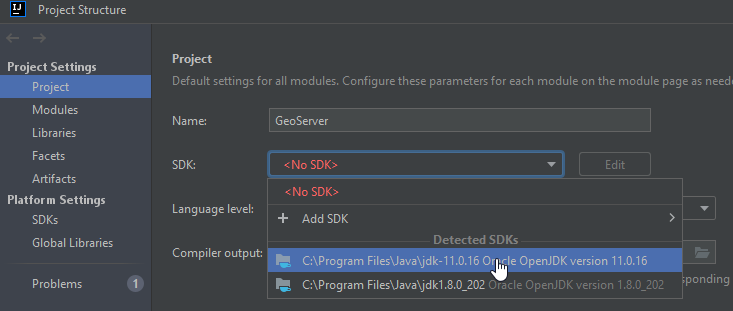
Click
File > Settings.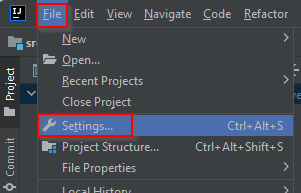
From
Build, Execution, Deployment > Compiler > Annotation Processors, enable theAnnotation processing.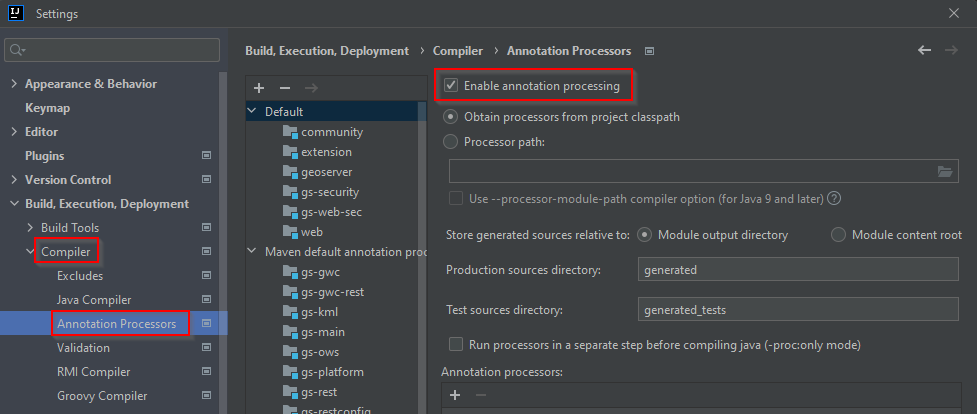
Click
Build > Rebuild Project.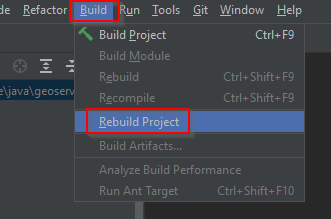
Run GeoServer from IntelliJ
From the Project browser select the
web-appmoduleNavigate to the
org.geoserver.webpackageRight-click the
Startclass and click toModify Run Configuration...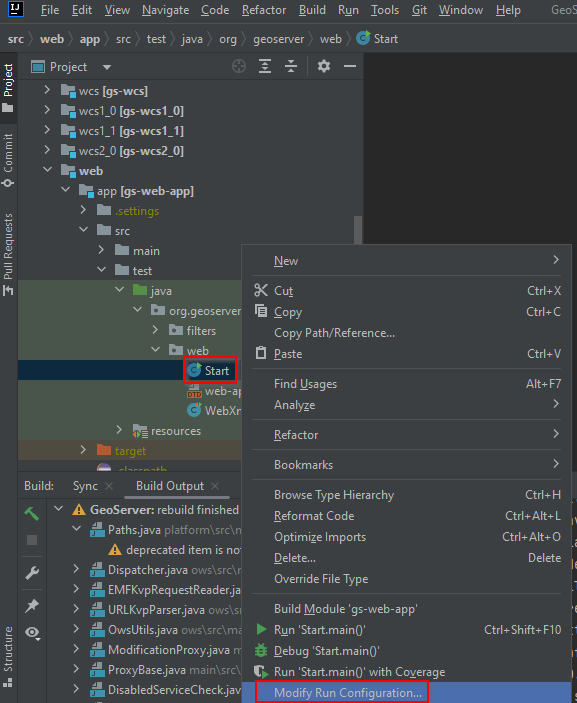
It is important to correctly set the
Working directorytosrc/web/app. While having theEdit Configurationsdialog open, fine tune the launch environment (including setting aGEOSERVER_DATA_DIRor thejetty.port). When settings are satisfactory, clickOK.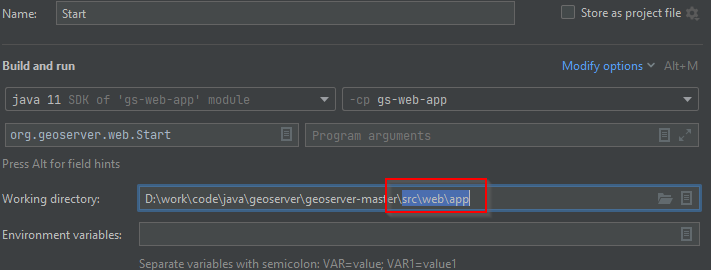
It’s possible now to run GeoServer by selecting
Run -> Run 'Start'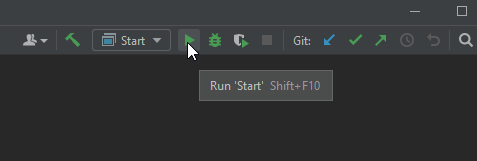
Troubleshooting
If there are errors such as “cannot find symbol class ASTAxisId”, some generated code is not being included in the build. Using
wcs1_1as the working directory, run amvn clean install.- In the case of compiler errors like
java.lang.NoSuchMethodError, it might be due toError Prone. This tool is switched off by default, but sometimes it turns on after import to IntelliJ. There are two options to fix it: Go to Maven tool window and uncheck the
errorproneprofile, then clickReimport All Maven Projects: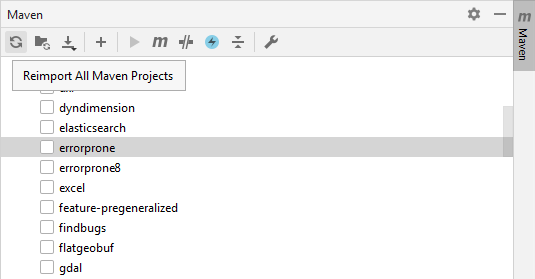
To use
errorprone, notably to perform the QA checks, install theError Prone Compilerplugin, restart the IDE and setJavac with error-proneas a default compiler for the project. Please note that this will slow down the build.
- In the case of compiler errors like
If there are errors such as “cannot find symbol AbstractUserGroupServiceTest”, rebuild the
security-testsproject in the security module. Right-click on thesecurity-testsproject and click Rebuild.In the last versions of IntelliJ Annotations processors are enabled. If there are errors because of this uncheck this option from compiler settings.
If IntelliJ complains with an error message like
Command line is too long., click onShorten the command line and run.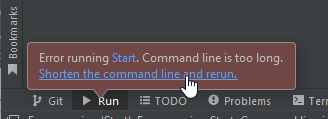
Note
If there’s a server running on localhost:8080 please check the Eclipse Guide for instructions on changing to a different port.
Run GeoServer with Extensions
The above instructions assume running GeoServer without any extensions enabled. In cases where certain extensions are needed, the web-app module declares a number of profiles that will enable specific extensions when running Start. To enable an extension, open the Maven Projects tool and select the profile(s) to enable.

The full list of supported profiles can be found in src/web/app/pom.xml.
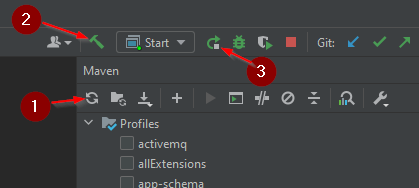
In order to sync the GeoServer execution with the new modules, from the Maven Projects tool click the Reload All Maven Project button (1), then Build the Project (2) and, once finished, Run 'Start' (3).
Access GeoServer front page
After a few seconds, GeoServer should be accessible at: http://localhost:8080/geoserver
The default
adminpassword isgeoserver.
Development Environment
Code formatting
GeoServer uses the [palantir-java-format](https://github.com/palantir/palantir-java-format?tab=readme-ov-file#palantir-java-format) which is a fork of the google-java-format AOSP style updated Lamda expressions and 120 columns.
The formatter plugin is embedded in the build and will reformat the code at each build, matching the coding conventions. Please always build locally before committing!
The palantir-java-format project offers a [plugin](https://plugins.jetbrains.com/plugin/13180-palantir-java-format) for IntelliJ.
Code formatting is covered by our build Quality Assurance checks.